Banners and Classification Labeling
Custom Terminal Banner
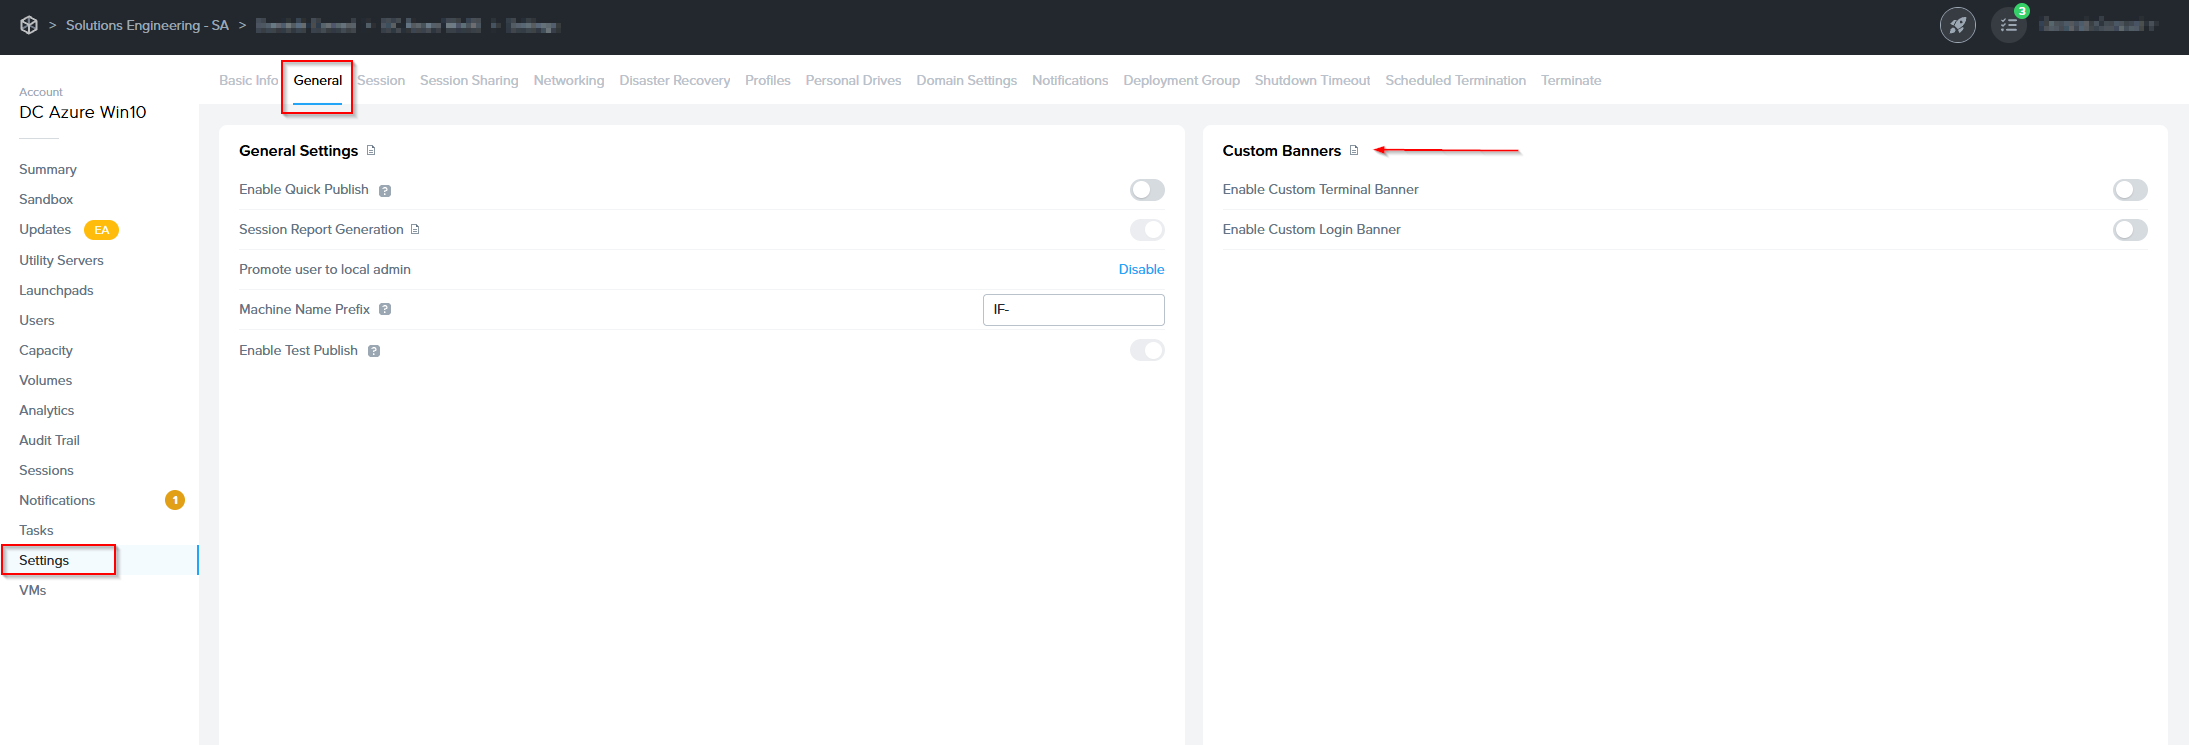
- To enable this feature within your Frame Account, navigate to the General tab listed under the Settings section of your Dashboard.
-
From there, you should see a section titled Custom Banners. Under this section, click on the Enable Custom Terminal Banner toggle to enable it. A new set of options will appear.
-
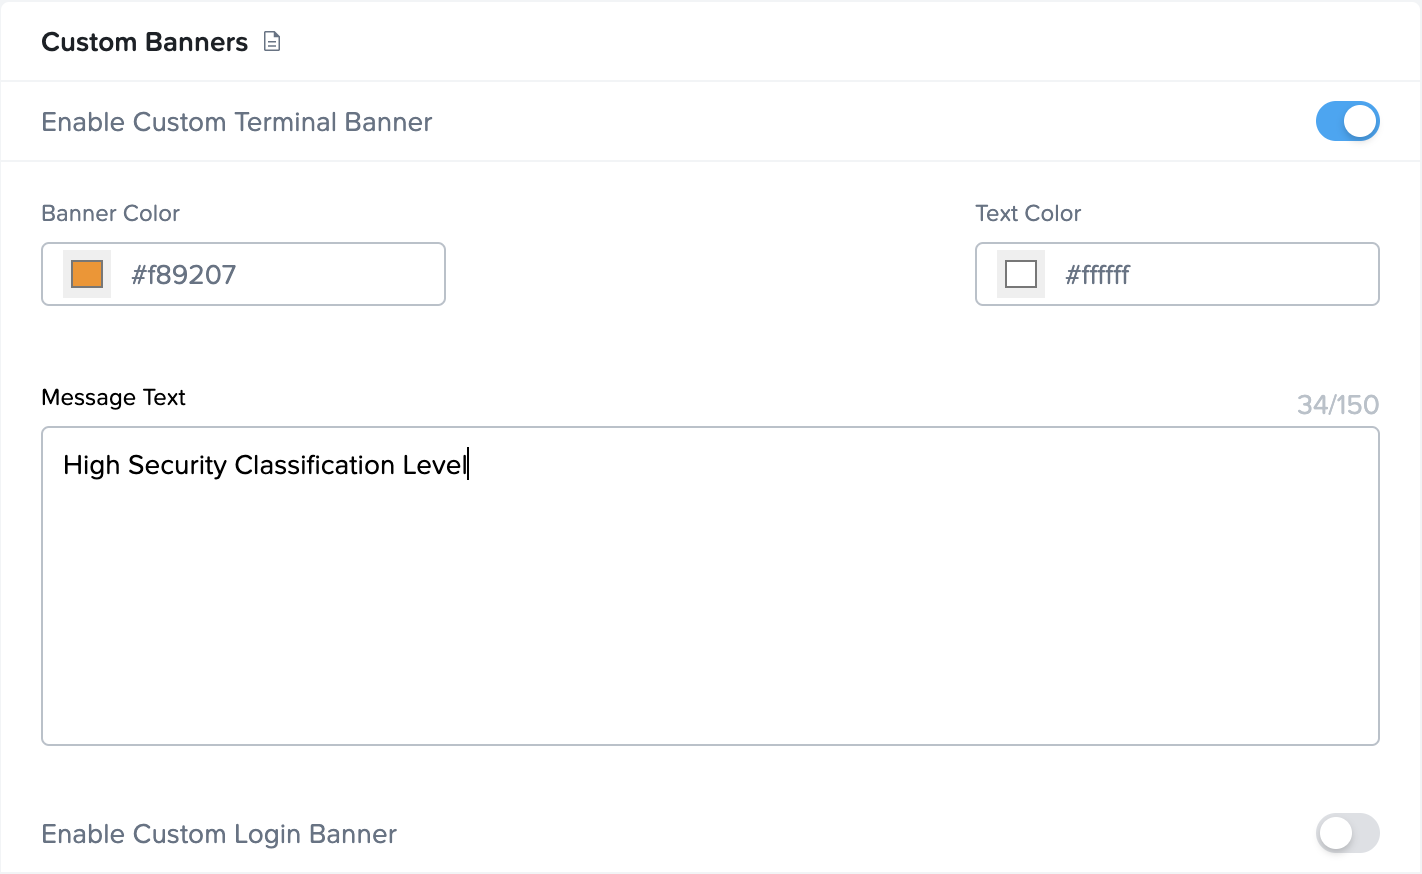
Set the banner color and text color by entering hex color codes in each field or clicking on the field to open the color chooser. Specify what you would like your banner to say by entering it in the Message Text field. Click Save to apply your changes.
Custom Login Banner
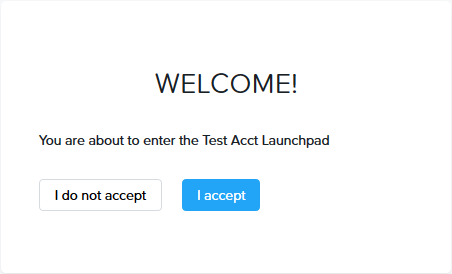
From the same section, you can also create a custom login banner for your users. Use the custom login banner to give your users special instructions or an important message if necessary. The end user must "accept" to continue to their Launchpad.
-
To enable this feature within your Frame Account, navigate to the General tab listed under the Settings section of your Dashboard.
-
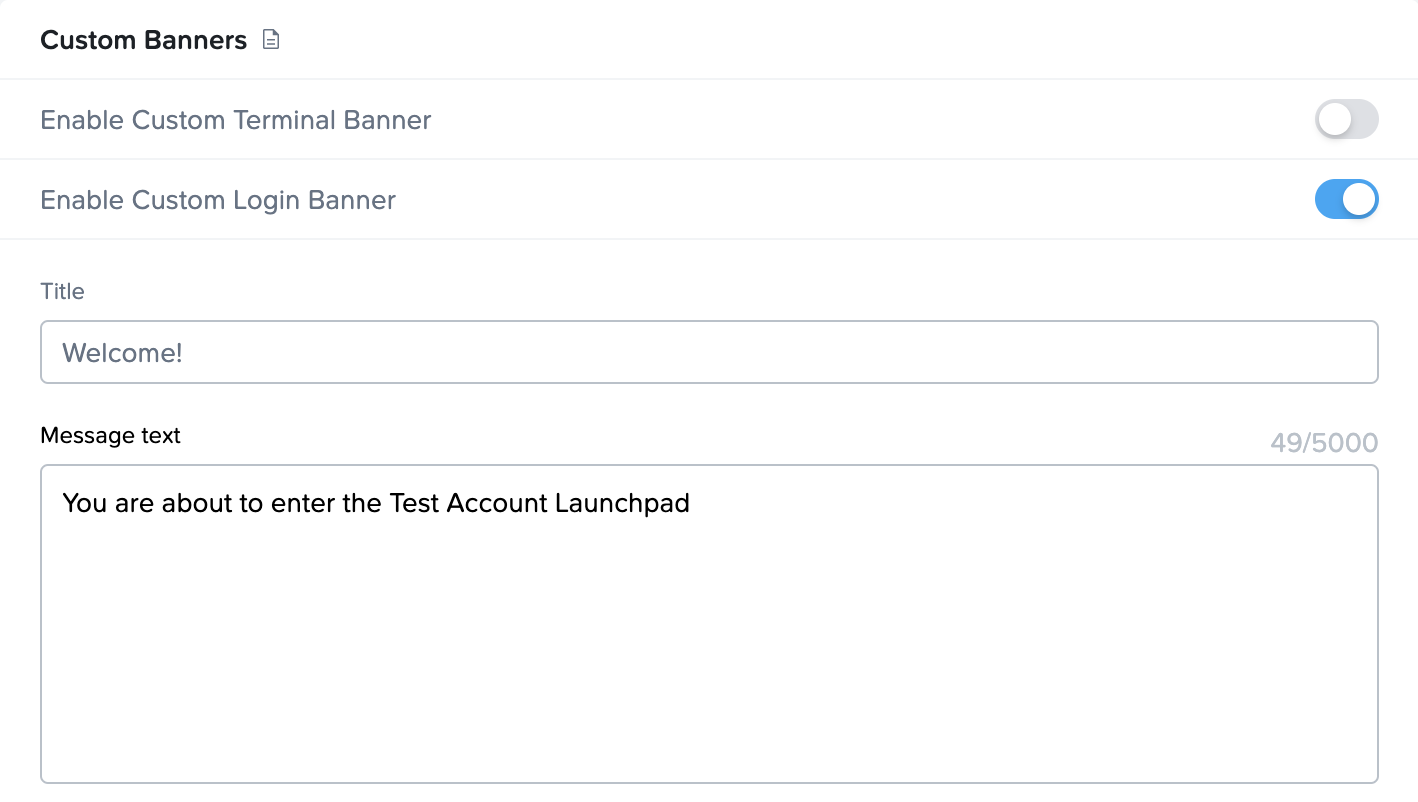
From there, you should see a section titled Custom Banners. Under the this section, click on the Enable Custom Login Banner toggle to enable it. A new set of options will appear.
-
Set the title for your custom login banner and specify what you would want the users to agree to by entering the message in the Message Text field. Click Save to apply your changes.
After your user logs in, they will see a white page displaying your message. They will need to click I Accept to be taken to their Launchpad.
Leveraging the Platform Hierarchy
Administrators with the appropriate role can set a default custom terminal or login banner at the Customer or Organization entity level. The custom terminal and login banner configurations are available on the Admin Console under Settings > Settings at both the Customer or Organization entity levels.

Custom banner definitions are **not** dynamically inherited from higher levels to lower levels of the Frame platform hierarchy. If you wish to leverage a custom banner at a lower level of the platform hierarchy, be sure to configure the custom banner first in the parent entity before creating the child entity.