# Organizations
Customer administrators have permissions to add, edit, and deactivate organization entities in the Frame console. This guide outlines how administrators can add, configure, and delete organization entities.
## Create an Organization Entity
1. From the Frame [Admin Console](https://docs.difr.com/books/platform-administrators-guide/page/google-cloud-platform#admin-console), select **Organizations** in the left-hand menu from the Customer page. Click **Create Organization** in the upper right hand corner of the page.
2. A new window will appear. Add the name for the organization in the **Name** field of the window. The URL name will automatically generate but can be modified as desired. Click **Create** after adding the Organization entity name.
[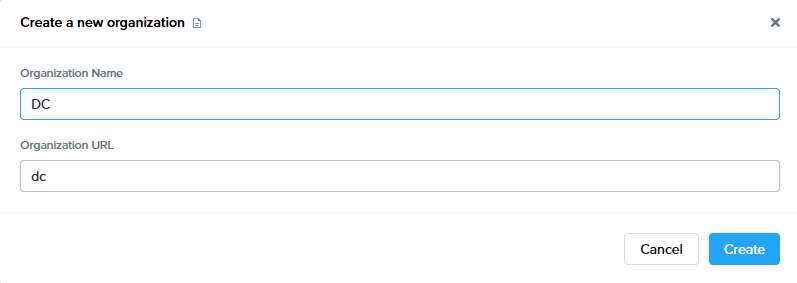](https://docs.difr.com/uploads/images/gallery/2025-12/K6aimage.png)
3. Your newly created organization entity will appear in the **Organizations** list.
[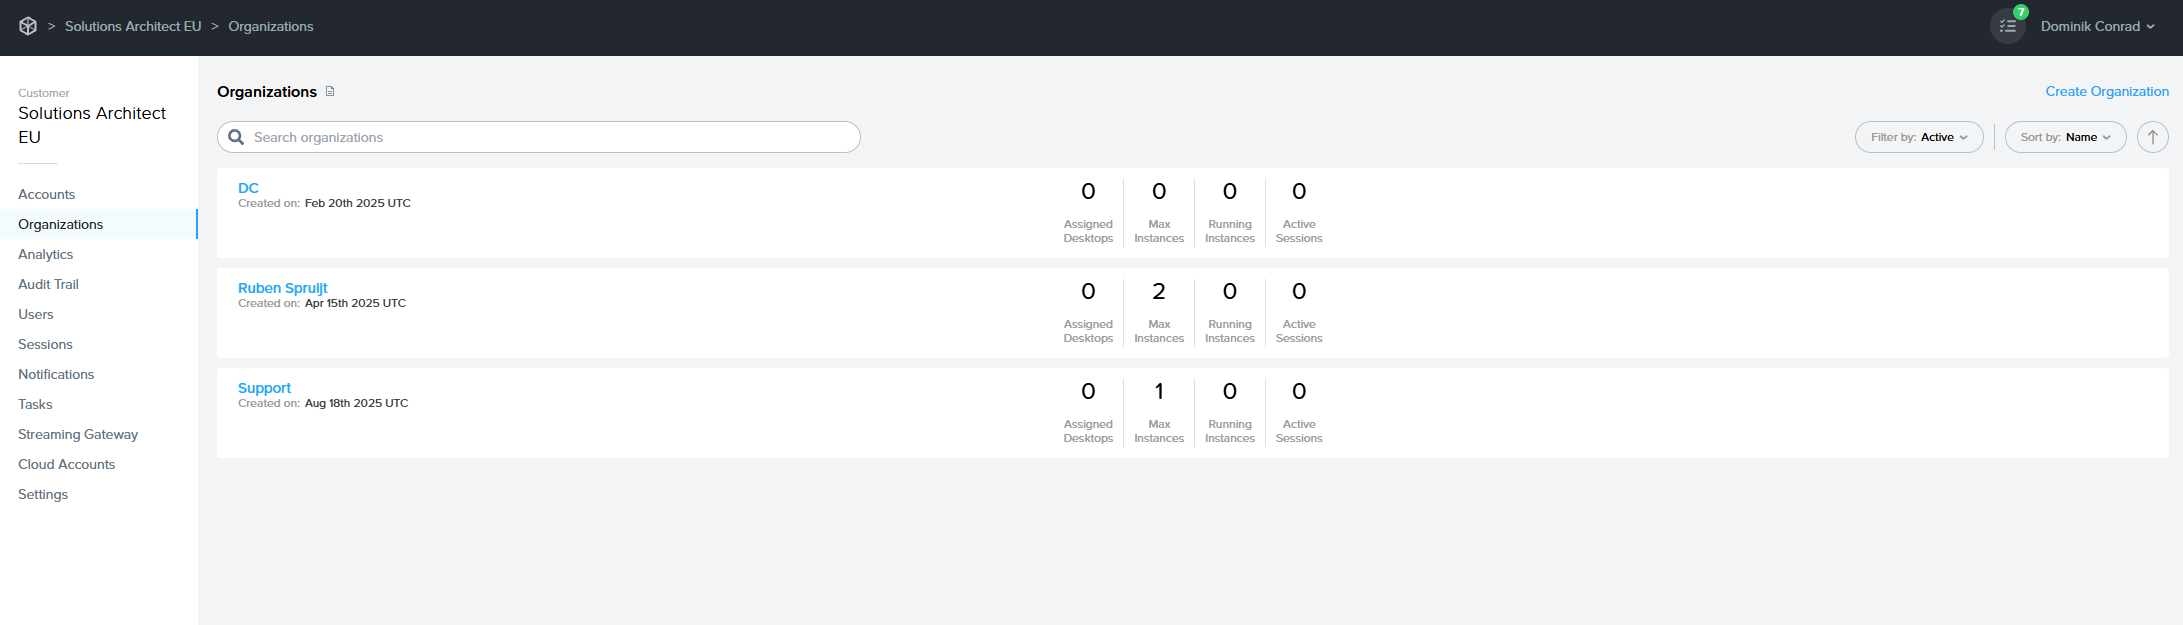](https://docs.difr.com/uploads/images/gallery/2025-12/4ZFimage.png)
## Update your Organization
Administrators can easily make configuration updates to their Organization entity from the Frame console. Simply navigate to the desired Organization from the Customer Dashboard view, click the Organization you wish to modify, and then navigate down to the **Settings** page to make your changes. Be sure to click **Save** in the upper right corner of the page.
Configurations applied to the organization entity will affect the entirety of the organization and any accounts listed underneath it (where applicable).
### Basic Info
After clicking **Update**, you will be taken to the **Basic Info** tab of the Organization entity's update page. You can edit any of the fields listed below:
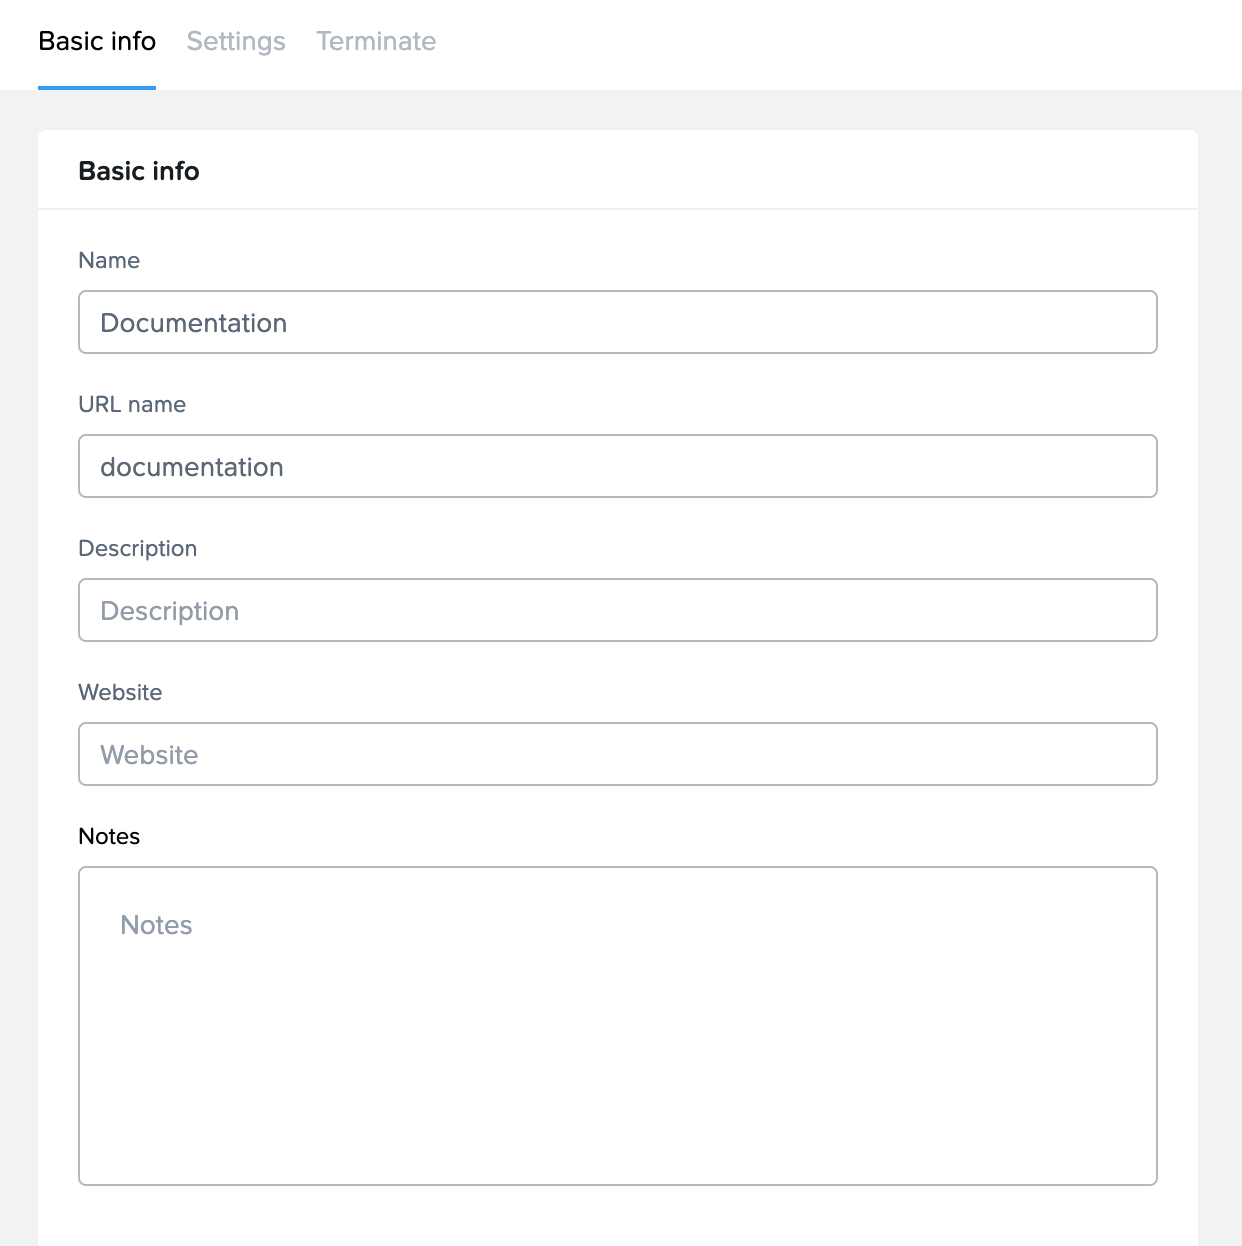
- **Name**: Edit the name of your organization in this field.
- **URL name**: This specifies the slug of the URL unique to your organization. For example, specifying “documentation” would look like this: `https://use.difr.com/[customer_URL]/documentation/[account_URL]`
- **Description**: Add a description about the organization.
- **Website**: Place the web address for your organization here (for example, `https://www.google.com`).
- **Notes**: Add any relevant notes about your organization to this section.
### Settings
Under the **Settings** tab, administrators can enable custom terminal and login banners. Check out our guide on [Banners and Classification Labeling](https://docs.difr.com/link/154#bkmrk-page-title) to see if this feature would be appropriate for your use case.
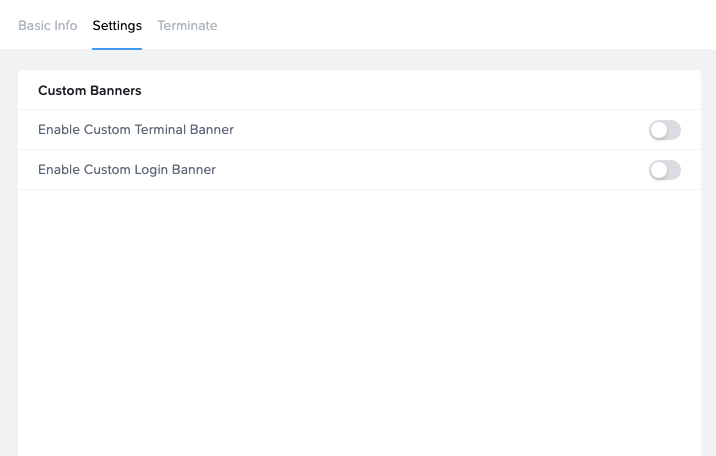
If you would like to enable custom Terminal or Login banners for **all accounts listed under your organization entity**, you can do so here. Click **Save** to apply your settings.
### Terminate
Administrators can navigate to the **Terminate** tab of the Organization Update page if they wish to terminate their organization entity. Before **any** entity can be terminated, certain criteria must be met. Please see our [Terminate an Entity](https://docs.difr.com/link/142#bkmrk-page-title) guide for more details.