# Linux
This document will provide you with instructions on how to prepare and register your own template image for use with Frame. Before moving forward with the preparation procedure, please ensure you have read through the general requirements on the [BYO image](https://docs.difr.com/books/platform-administrators-guide/page/bring-your-own) page and considerations below.
## Considerations
- Create a template VM running a supported version of Ubuntu from an ISO or from the AWS, Azure, or GCP Marketplace.
## Create an Ubuntu Template Image VM
The following instructions assume you have an Ubuntu 24.04 ISO image in your desired infrastructure. If you already have an Ubuntu VM you wish to use as the starting point for your template VM, then you can skip to the installation of the Frame Guest Agent.
1. Create a VM using your Ubuntu ISO (mounted as a CD-ROM). The VM should have at least 2 vCPUs, 8 GB memory, 40 GiB disk, and a network interface.
2. Power on the VM and access the VM through the console or via ssh.
3. Choose your language.

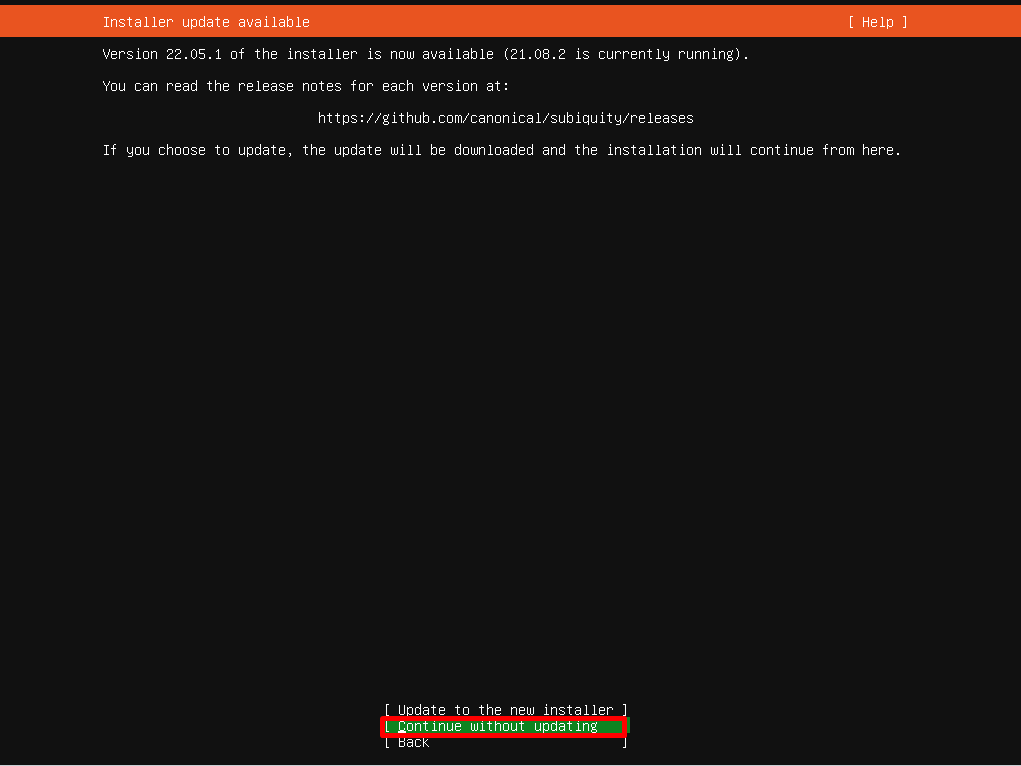
Ubuntu Installer - Language2. If you are informed that there is an installer update available, choose "Continue" without updating to stay on version 20.04. You can always perform the updates later in the Sandbox.
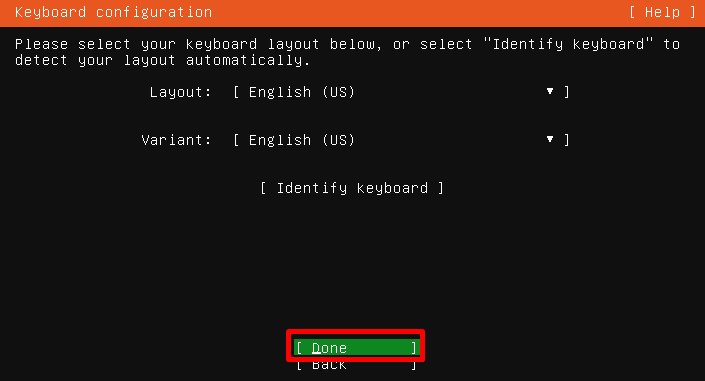
Ubuntu Installer - Update3. Choose your Keyboard Configuration. Choose "Done" when complete.
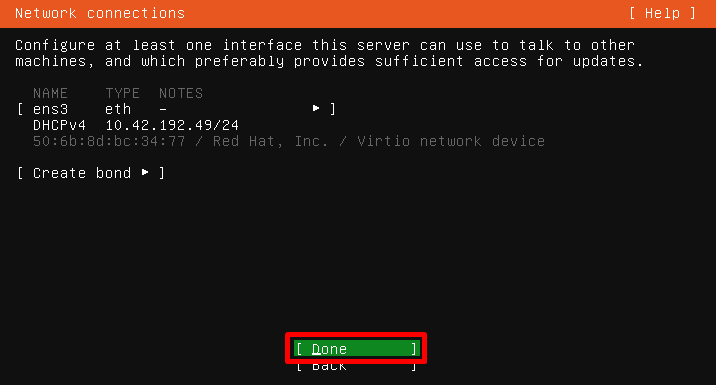
Ubuntu Installer - Keyboard Configuration4. Configure your Network Connections. Choose "Done" when complete.
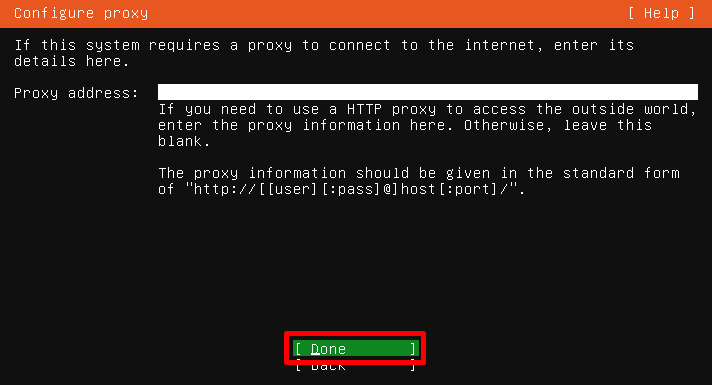
Ubuntu Installer - Network Connections5. Leave the Proxy Address field blank and choose "Done" (unless the VM needs to communicate to the Internet using an outbound proxy server).
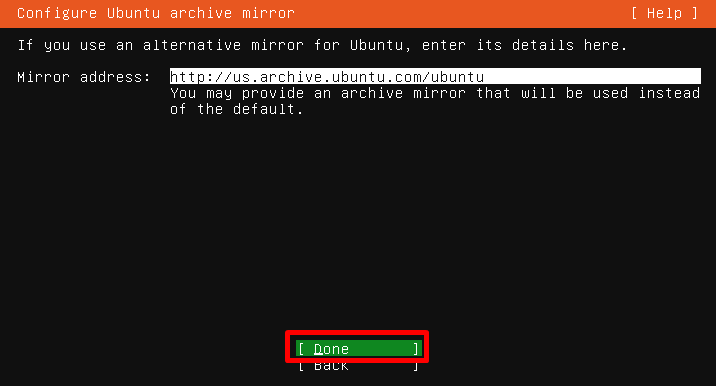
Ubuntu Installer - Proxy Server6. Enter in your Archive Mirror address, if you have a preferred option. Choose "Done" when complete.
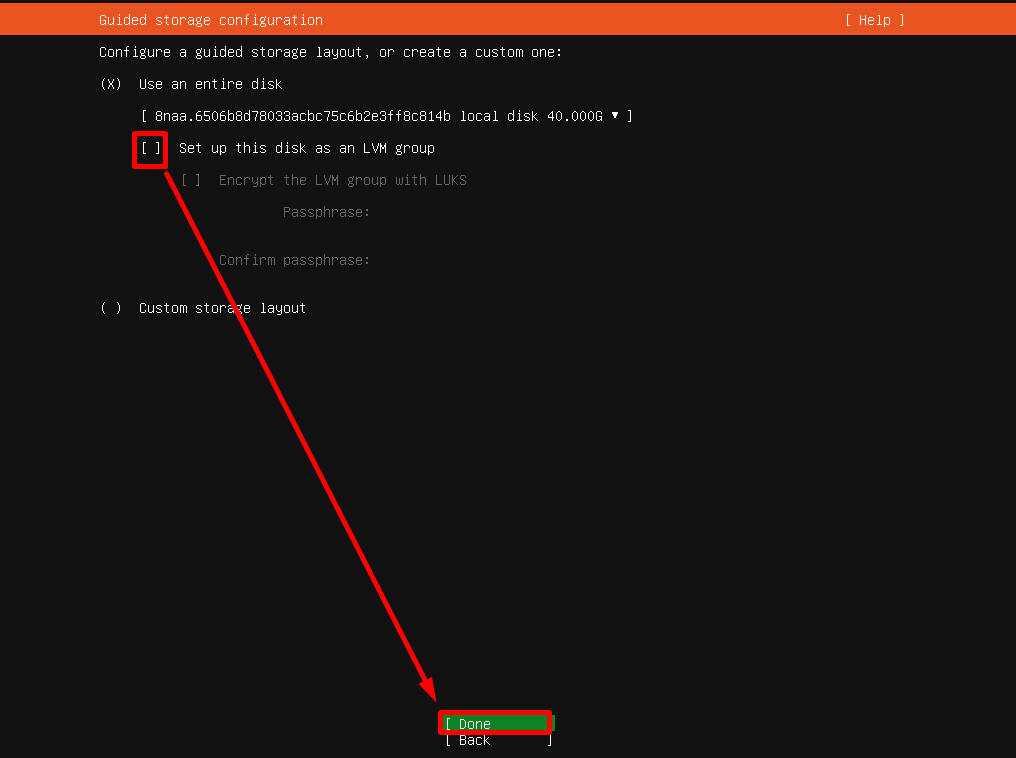
Ubuntu Installer - Archive Mirror6. On the Guided storage configuration page, uncheck the Set up this disk as an LVM group option, then choose "Done".
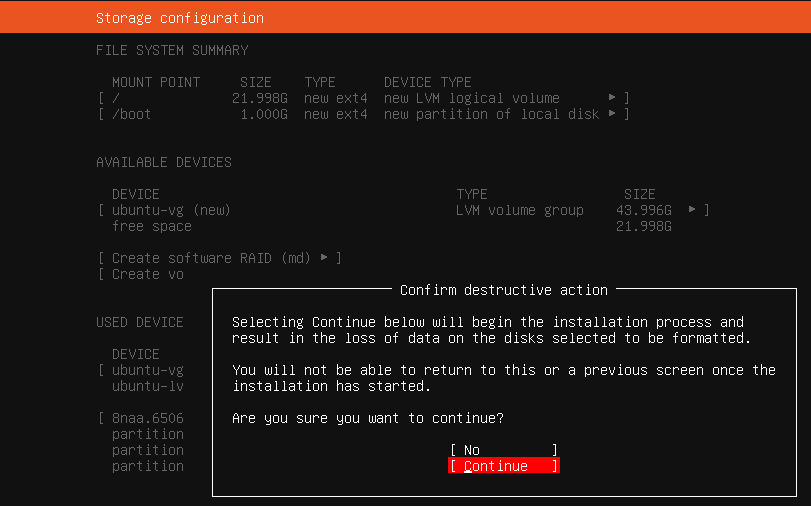
Ubuntu Installer - Guided Storage7. On the Storage configuration page, choose "Done".

Ubuntu Installer - Storage Configuration8. Confirm the “destructive action” (wiping/formatting the hard disk).
Ubuntu Installer - Confirm Disk Formatting9. Provide computer/user information.

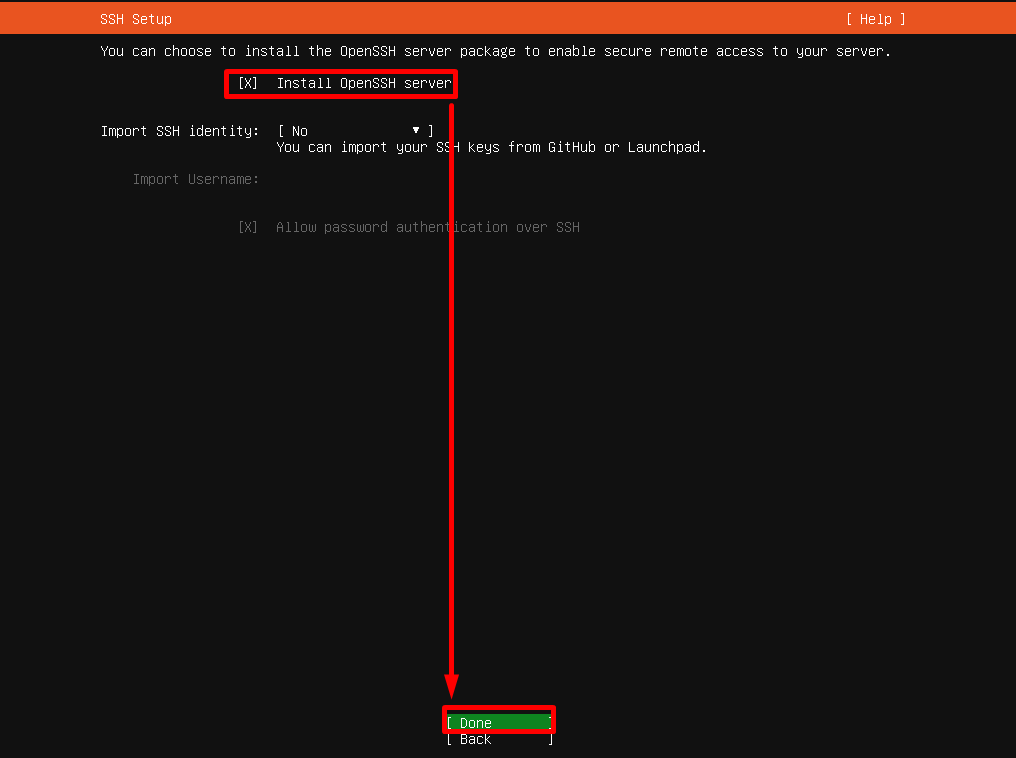
Ubuntu Installer - Profile Setup1. Install OpenSSH server.
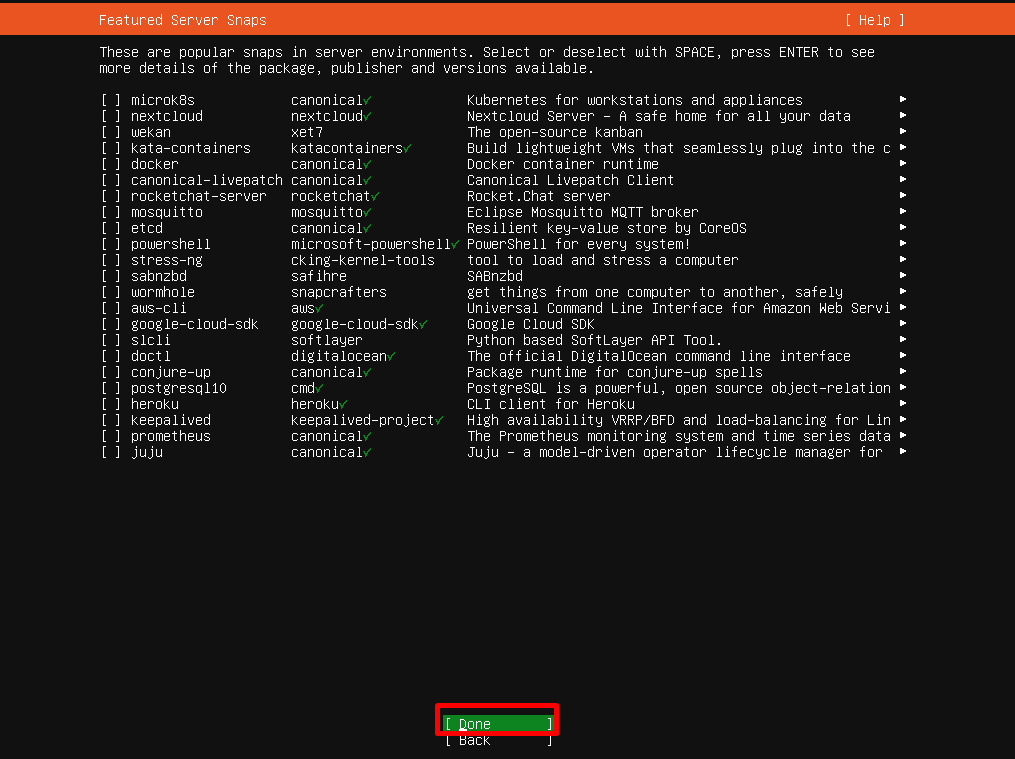
Ubuntu Installer - OpenSSH11. Do not install any add-ons.
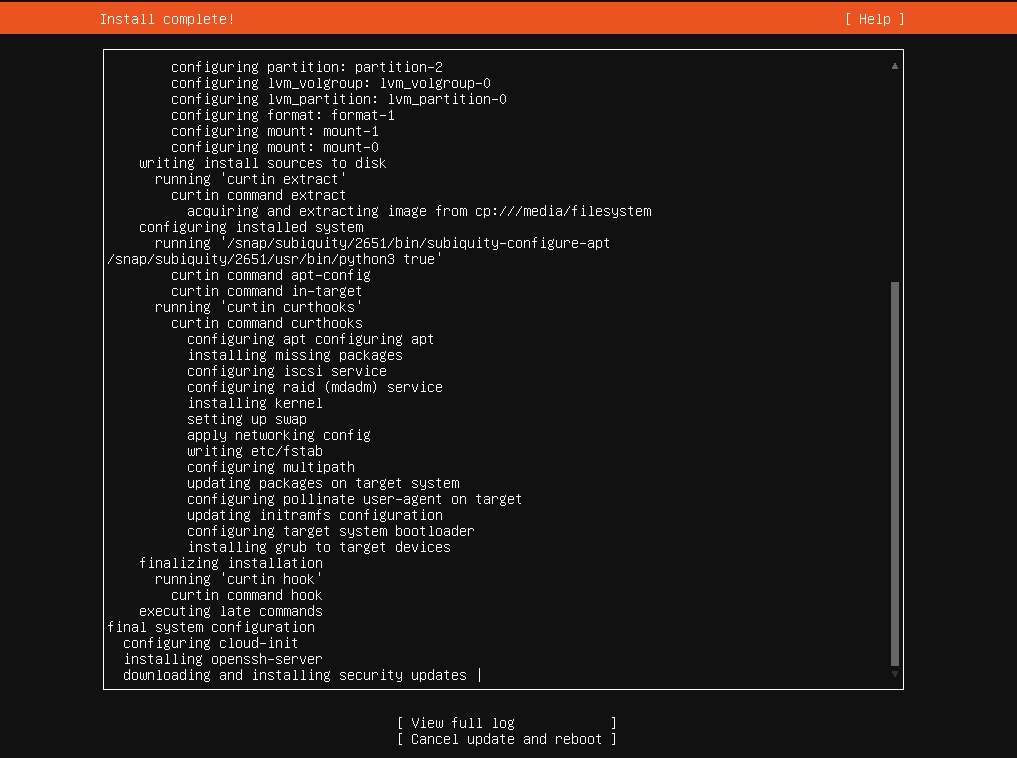
Ubuntu Installer - No Add-Ons12. The installation will now begin.
13. When prompted, let the security updates install.
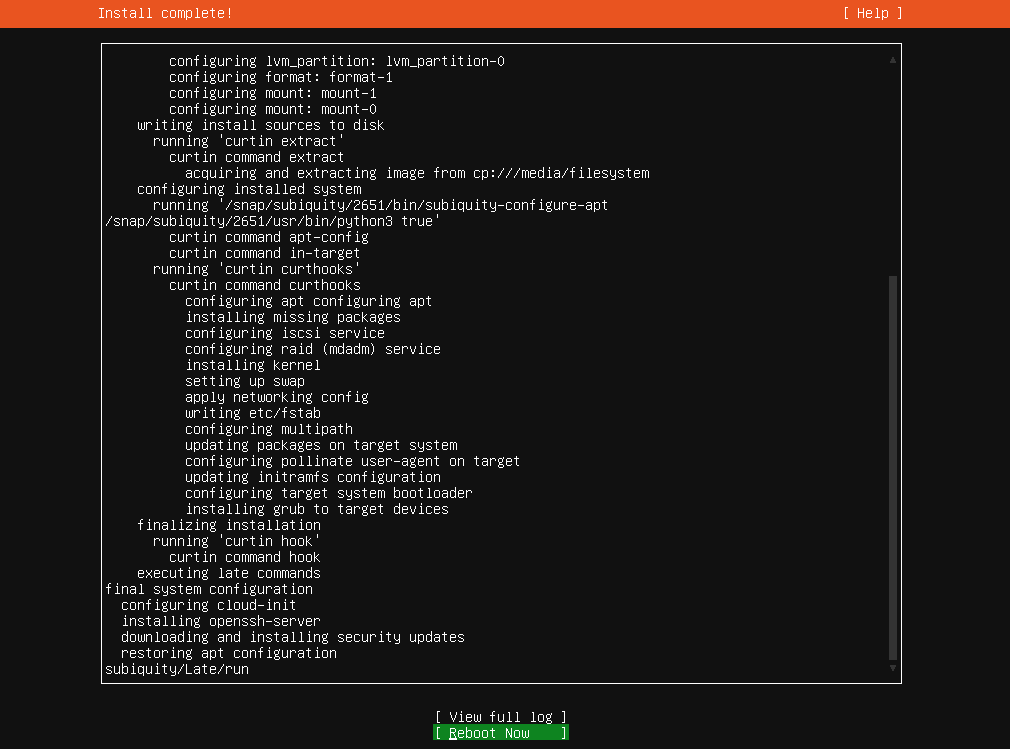
Ubuntu Installer - Install Complete14. Reboot when prompted.
Ubuntu Installer - Reboot15. If prompted, press Enter to eject Ubuntu installation media.
## Install Frame Guest Agent
1. Download the Frame Workload Installer (Linux) to your local machine (or within the template VM) from the [Downloads page](https://files.difr.com/).
2. Unzip the Frame Workload Installer.
3. Untar the Frame Workload Installer tar file.
4. If you need to upload the Frame Workload Installer, use `winscp` to transfer the Frame Workload Installer file folder (frame\_workload\_installer\_linux-2.0.0 folder) to the template VM. This assumes you have installed and enabled OpenSSH in your Ubuntu VM.
5. Login to the Linux VM using account specified during installation of the operating system. In the Linux VM, `ls -al` to verify the `frame_workload_installer_linux-2.0.0` folder exists. Change directory to the folder.
6. Run `sudo bash prepare.sh`. Elevate if prompted.

Frame Guest Agent Workload Installer - prepare.sh7. Upon completion, run `sudo bash install.sh`.

Frame Guest Agent Workload Installer - install.sh8. Upon completion, shut down the VM.
### Tag Template
You will now need to tag the template VM, image, or snapshot (depending on the infrastructure) in order for Frame control plane to be able to recognize this template image. This process is exactly the same as what is required for tagging Windows template images.
Instructions for performing tagging, by infrastructure are at:
- [AHV](https://docs.difr.com/link/77#bkmrk-tag-vm)
- [AWS](https://docs.difr.com/link/74#bkmrk-tag-ami)
- [Azure](https://docs.difr.com/link/75#bkmrk-tag-snapshot)
- [GCP](https://docs.difr.com/link/76#bkmrk-create-image-from-vm)
- [IBM](https://docs.difr.com/link/78#bkmrk-tag-the-ibm-cloud-ma)
## Register Template Image
Once you have successfully created and tagged your template image(s) in your infrastructure, you will [register your template image](https://docs.difr.com/link/45#bkmrk-add-a-template-image).
##
AWS Marketplace
If you want to use Ubuntu 24.04 from AWS Marketplace you must accept the terms of AWS Marketplace Ubuntu Image
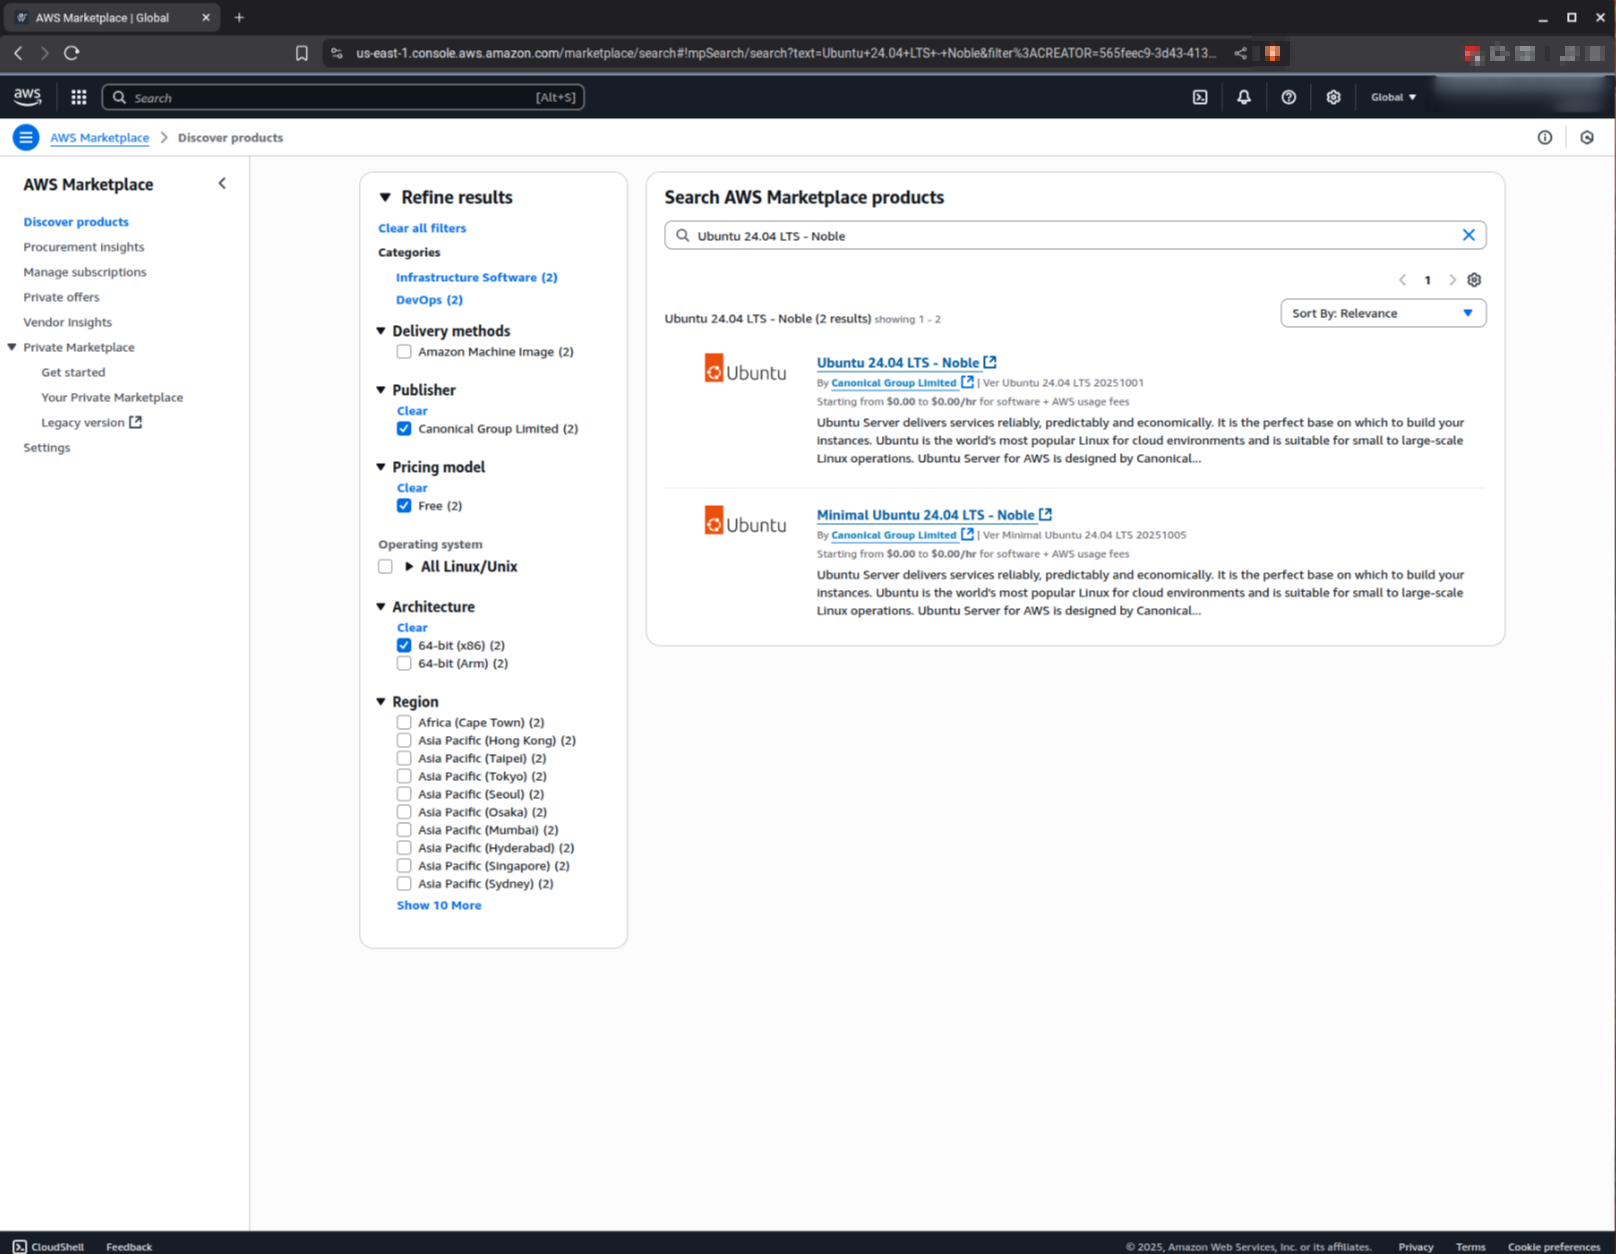
1. Go to the **AWS Marketplace**
[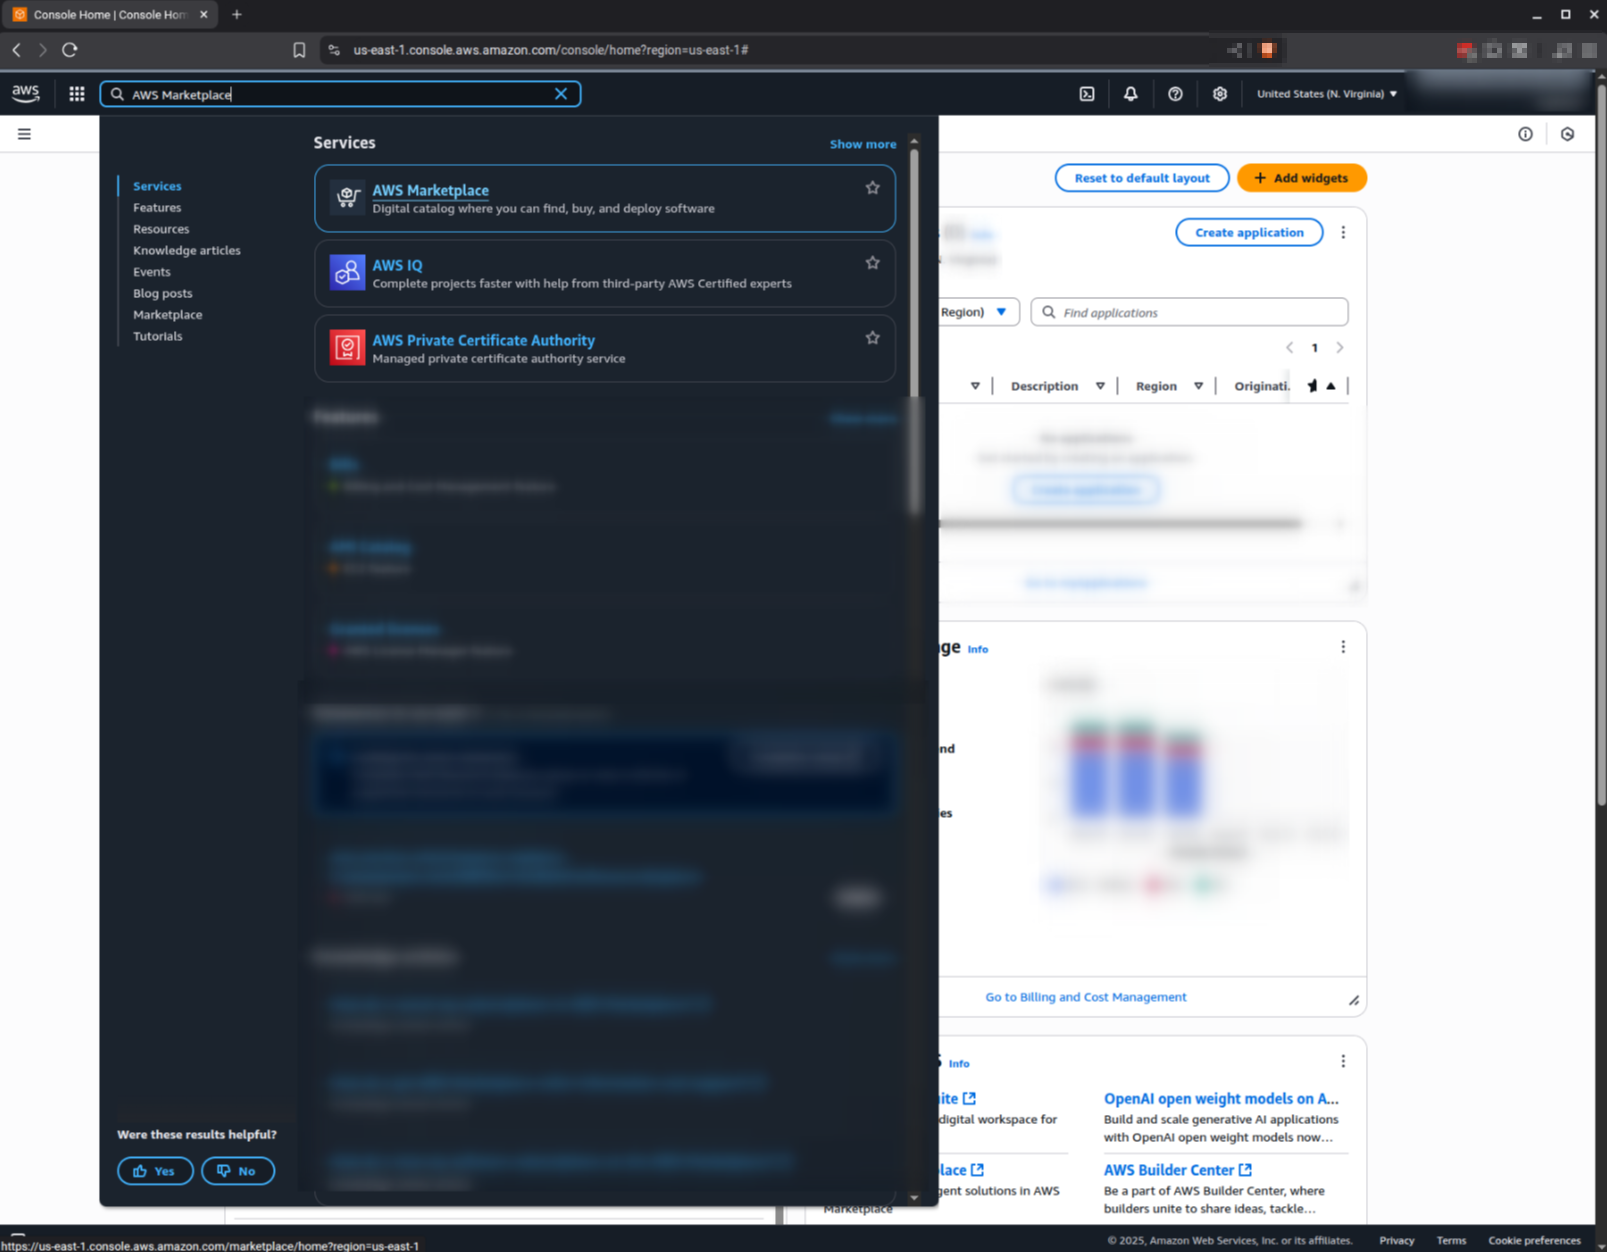](https://docs.difr.com/uploads/images/gallery/2025-10/kl0image.png)
2\. Go to **"Discover products"** and search for the <Ubuntu version> (current supported version is 24.04)
[](https://docs.difr.com/uploads/images/gallery/2025-10/Ttzimage.png)
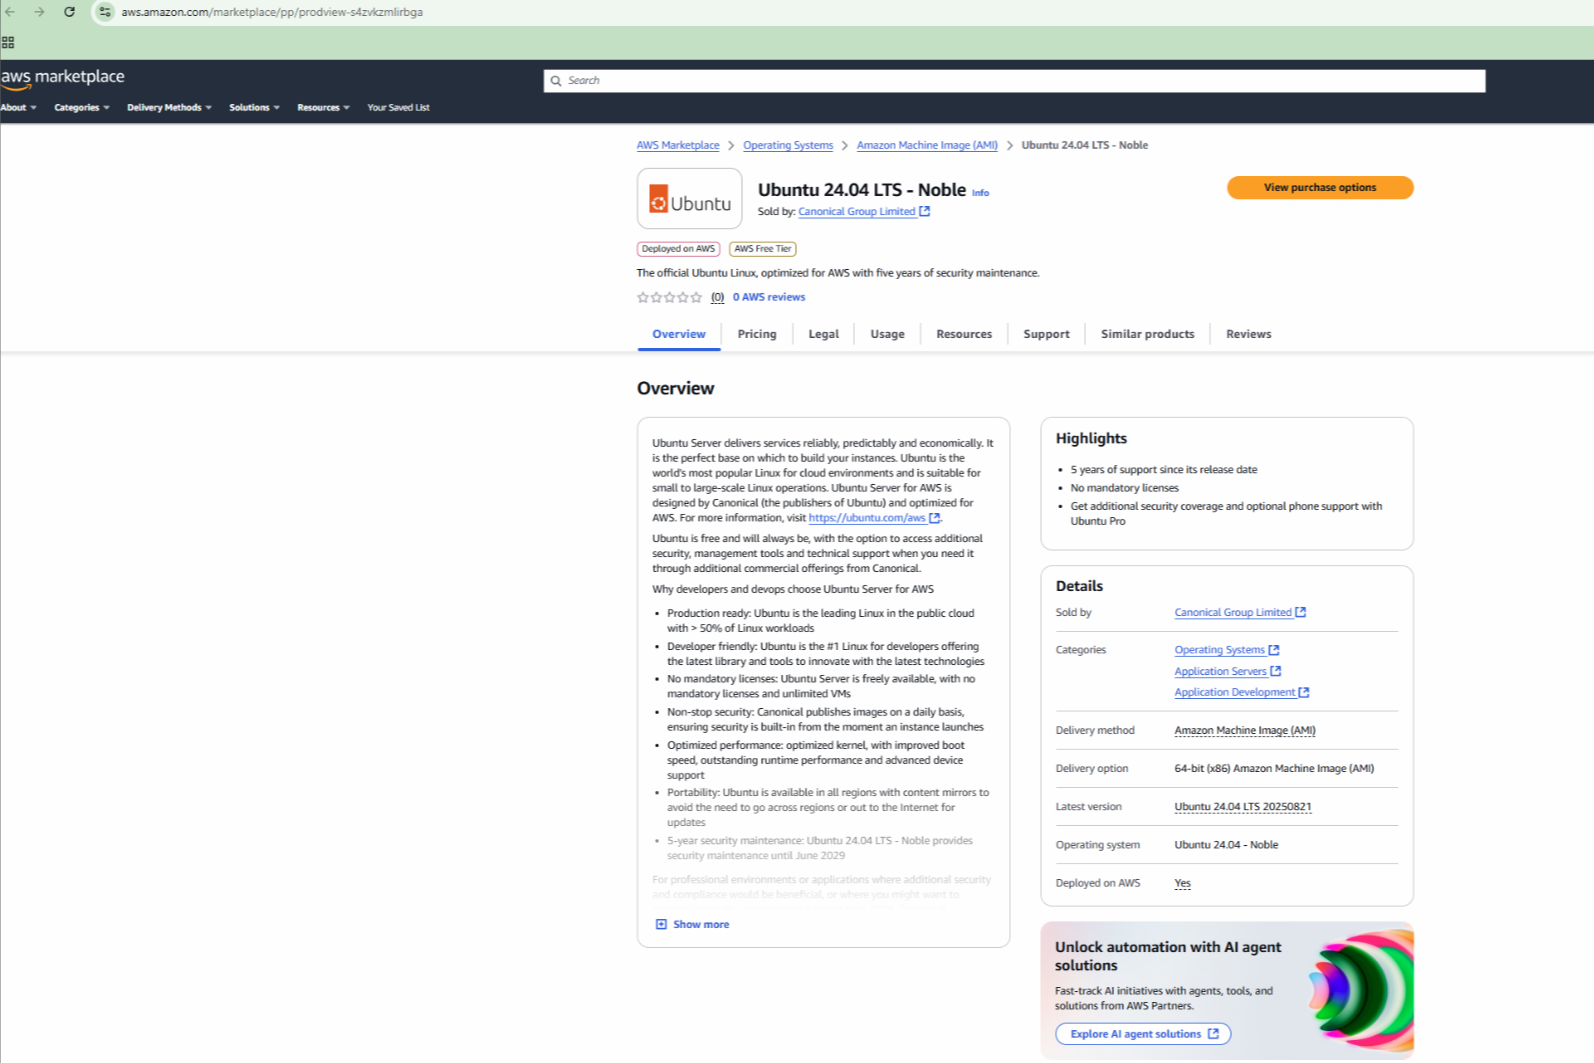
3\. Select the image you want to use, scroll down to the end of the page and click on **Subscribe**
**[](https://docs.difr.com/uploads/images/gallery/2025-10/9Mvimage.png)**
[](https://docs.difr.com/uploads/images/gallery/2025-10/ZOFimage.png)
**That's it, you are set to use the image from AWS Marketplace**