| Argument | Details |
|---|---|
| `/i` | Normal install |
| `/norestart` | Do not restart the device after the installation completes. |
| `/qn` | No UI during the installation process |
| `/quiet` | No user interaction required |
Frame App for Linux is only supported on Ubuntu and Ubuntu-based thin client OS that are Frame Ready validated (e.g. IGEL OS, Stratodesk NoTouch OS, Zeetim ZeeOS, and 10ZiG PeakOS)
1. On your Linux endpoint, open a terminal window and navigate to the location where you have downloaded Frame App. Take note of the version number of Frame App. 2. Run sudo apt install plus the file name/location, as shown below. 3. Once installed, you should be able to access Frame App from your App Launcher. 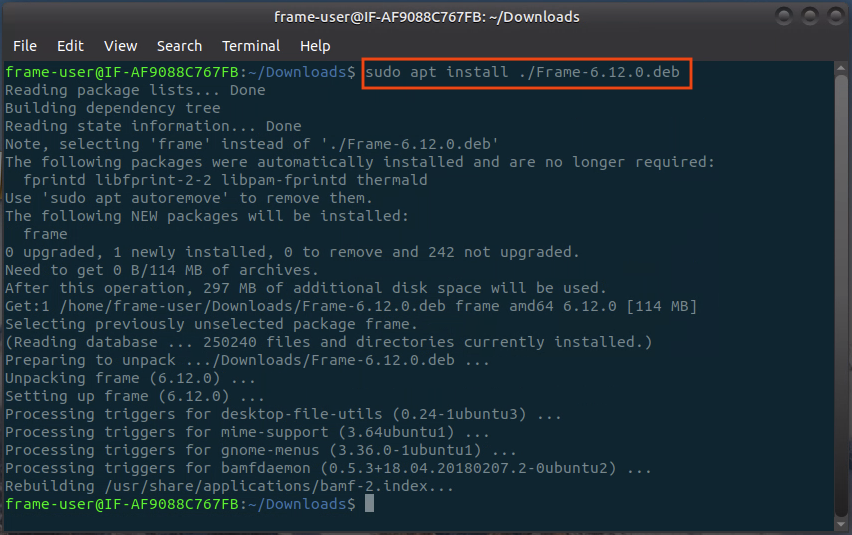 #### Updates Once installed, Frame App will automatically check for updates every time you launch it. You will be prompted to update your version of Frame App if any newer versions are available. To check your version of Frame App, simply click on the **Frame** menu and select **About**. 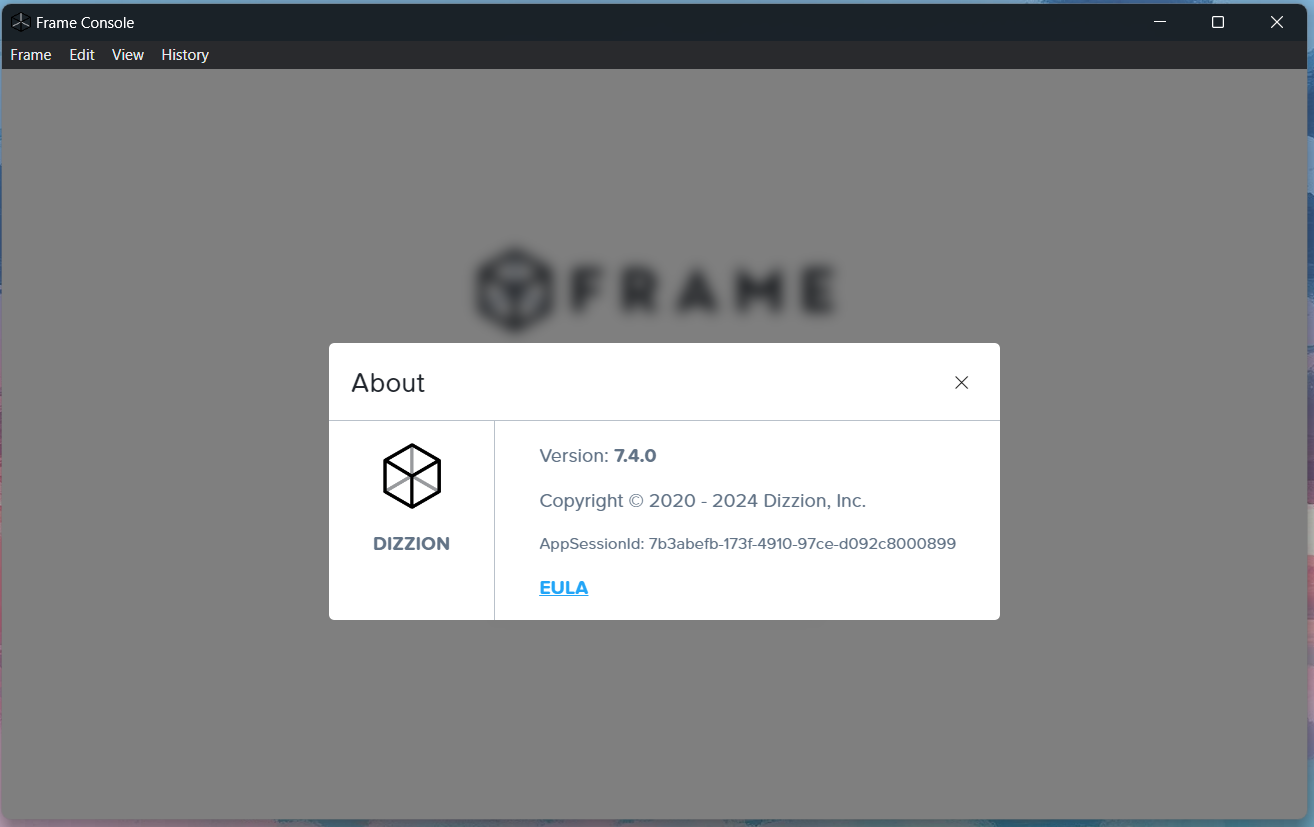 # Configuring Frame App Frame App behavior can be configured on startup of the application (Command Line Arguments) and through configuration files/Windows registry keys. If you are installing Frame App on Windows endpoints and would like to configure the silent installation process, you can find additional documentation [here](https://docs.difr.com/books/platform-administrators-guide/page/configuring-frame-app). ## Command Line Arguments Command line arguments or “launch arguments” are parameters that are automatically passed to a program (via command line) to modify its behavior. Some organizations may choose to use these modifiers to better fit their use case. We will start by providing a list of the available command line arguments and then explain how to configure them based on your operating system. To launch Frame App with certain command line arguments, start by opening command prompt/terminal on your local machine. Specify the file path for Frame App (include the executable). Append your command line argument(s) after file path. You may launch Frame App with the specified parameters. Use the table below to understand command line argument options and their syntax. ### Frame App 7 #### Launch Frame App with arguments following the pattern: ```bash # Starting in "/usr/bin/" # Single argument ./frame --arg=value # OR # Multiple Arguments ./frame --arg1 --arg2=value ```| Command Line Argument | Description and Syntax Example |
|---|---|
| `--startup-url` | Designates the startup URL, as you would on the "Preferences" page of Frame App. ---
Single Argument Example:
```
./frame --startup-url="https://use.difr.com/"
```
|
| `--check-for-updates-on-startup` | Frame App will check for updates on startup when this argument is set to **ON**. ---
Single Argument Example:
```
./frame --check-for-updates-on-startup=on
```
|
| `--clear-cache-on-startup` | Frame App will automatically clear the local cache on startup when argument is set to **ON**. ---
Single Argument Example:
```
./frame --clear-cache-on-startup=on
```
|
| `--enable-camera` | Frame App will launch with camera functionality enabled when this argument is set to **ON**. ---
Single Argument Example:
```
./frame --enable-camera=on
```
|
| `--enable-microphone` | Frame App will launch with microphone functionality enabled when this argument is set to **ON**. ---
Single Argument Example:
```
./frame --enable-microphone=on
```
|
| `--full-screen` | Instructs Frame App to launch in full screen when this argument is set to **ON**. ---
Single Argument Example:
```
./frame --full-screen=on
```
|
| `--start-session-in-full-screen` | Instructs Frame App to start a session in full screen when this argument is set to **ON**. ---
Single Argument Example:
```
./frame --start-session-in-full-screen=on
```
|
| `--help` | Provides a help menu. This command must be called on the precise application executable. ---
Single Argument Example:
```
/usr/bin/frame --help
```
|
| `--version` | Shows Frame App version. ---
Single Argument Example:
```
./frame --version
```
|
| `--hide-menu-bar=on` | Hide Menu Bar. Useful in kiosk mode scenarios. ---
Single Argument Example:
```
./frame --hide-menu-bar=on
```
|
| `--hide-toggle-fullscreen=on` | Hide toggle-fullscreen option from the View menu. Also used for kiosk mode scenarios. ---
Single Argument Example:
```
./frame --hide-toggle-fullscreen=on
```
|
| `--use-experimental-gpu-flags=on` | Enable Hardware Acceleration. Mainly used on IGEL client devices. ---
Single Argument Example:
```
./frame --use-experimental-gpu-flags=on
```
|
| Command Line Arguments | Description and Syntax Example |
|---|---|
| `displays-auto-arrange` | Frame App will launch with virtual displays configured to match your local environment. *Example:* `./Frame --displays-auto-arrange` |
| `kiosk` | Instructs Frame App to launch in full screen, also known as “Kiosk mode.” *Example:* `./Frame --kiosk` |
| `url` | Designates the startup URL, as you would on the “Preferences” page of Frame App. *Example:* `./Frame --url=console.nutanix.com` |
| `x11-window` | Switch from GTK (default) to X11 Windows. This argument should be used with HP ThinPro OS clients. *Example:* `./Frame --x11-window` |
| Command Line Argument | Description and Syntax Example |
|---|---|
| `--startup-url` | Designates the startup URL, as you would on the "Preferences" page of Frame App. ---
Single Argument Example:
```
./Frame --startup-url="https://use.difr.com/"
```
|
| `--check-for-updates-on-startup` | Frame App will check for updates on startup when this argument is set to **ON**. ---
Single Argument Example:
```
./Frame --check-for-updates-on-startup=on
```
|
| `--clear-cache-on-startup` | Frame App will automatically clear the local cache on startup when argument is set to **ON**. ---
Single Argument Example:
```
./Frame --clear-cache-on-startup=on
```
|
| `--enable-camera` | Frame App will launch with camera functionality enabled when this argument is set to **ON**. ---
Single Argument Example:
```
./Frame --enable-camera=on
```
|
| `--enable-microphone` | Frame App will launch with microphone functionality enabled when this argument is set to **ON**. ---
Single Argument Example:
```
./Frame --enable-microphone=on
```
|
| `--full-screen` | Instructs Frame App to launch in full screen when this argument is set to **ON**. ---
Single Argument Example:
```
./Frame --full-screen=on
```
|
| `--start-session-in-full-screen` | Instructs Frame App to start a session in full screen when this argument is set to **ON**. ---
Single Argument Example:
```
./Frame --start-session-in-full-screen=on
```
|
| `--help` | Provides a help menu. This command must be called on the precise application executable. ---
Single Argument Example:
```
/Applications/Frame.app/Contents/MacOS/Frame --help
```
|
| `--version` | Shows Frame App version. ---
Single Argument Example:
```
./Frame --version
```
|
| `--hide-menu-bar=on` | Hide Menu Bar. Useful in kiosk mode scenarios. ---
Single Argument Example:
```
./Frame --hide-menu-bar=on
```
|
| `--hide-toggle-fullscreen=on` | Hide toggle-fullscreen option from the View menu. Also used for kiosk mode scenarios. ---
Single Argument Example:
```
./Frame --hide-toggle-fullscreen=on
```
|
| `--use-experimental-gpu-flags=on` | Enable Hardware Acceleration. Mainly used on IGEL client devices. ---
Single Argument Example:
```
./Frame --use-experimental-gpu-flags=on
```
|
| Command Line Argument | Description and Syntax Example |
|---|---|
| `--startup-url` | Designates the startup URL, as you would on the “Preferences” page of Frame App. ---
Single Argument Example:
```
& ./Frame.exe -- --startup-url="https://console.nutanix.com/"
```
|
| `--check-for-updates-on-startup` | Frame App will check for updates on startup when this argument is set to **ON**. ---
Single Argument Example:
```
& ./Frame.exe -- --check-for-updates-on-startup=on
```
|
| `--clear-cache-on-startup` | Frame App will automatically clear the local cache on startup when argument is set to **ON**. ---
Single Argument Example:
```
& ./Frame.exe -- --clear-cache-on-startup=on
```
|
| `--enable-camera` | Frame App will launch with camera functionality enabled when this argument is set to **ON**. ---
Single Argument Example:
```
& ./Frame.exe -- --enable-camera=on
```
|
| `--enable-microphone` | Frame App will launch with microphone functionality enabled when this argument is set to **ON**. ---
Single Argument Example:
```
& ./Frame.exe -- --enable-microphone=on
```
|
| `--full-screen` | Instructs Frame App to launch in full screen when this argument is set to **ON**. ---
Single Argument Example:
```
& ./Frame.exe -- --full-screen=on
```
|
| `--start-session-in-full-screen` | Instructs Frame App to start a session in full screen when this argument is set to **ON**. ---
Single Argument Example:
```
& ./Frame.exe -- --start-session-in-full-screen=on
```
|
| `--help` | Provides a help menu. This command must be called on the precise application executable. ---
Single Argument Example:
```
C:\Program Files\Frame\app-7.5.0\Frame.exe -- --help
```
|
| `--version` | Shows Frame App version. Requires `| Write-Output` modifier. ---
Single Argument Example:
```
& ./Frame.exe -- --version | Write-Output
```
|
| `--hide-menu-bar=on` | Hide Menu Bar. Useful in kiosk mode scenarios. ---
Single Argument Example:
```
& ./Frame.exe -- --hide-menu-bar=on
```
|
| `--hide-toggle-fullscreen=on` | Hide toggle-fullscreen option from the View menu. Also used for kiosk mode scenarios. ---
Single Argument Example:
```
& ./Frame.exe -- --hide-toggle-fullscreen=on
```
|
| `--use-experimental-gpu-flags=on` | Enable Hardware Acceleration. Mainly used on IGEL client devices. ---
Single Argument Example:
```
& ./Frame.exe -- --use-experimental-gpu-flags=on
```
|
| Key Name | Description | Value(s) |
|---|---|---|
| `STARTUP_URL` | Designates the startup Uniform Resource Location (URL). Default Value: `https://console.nutanix.com/` | URL |
| `CHECK_FOR_UPDATES_ON_STARTUP` | Frame App will check for updates on startup when this argument is set to **ON**. If there is an update available, Frame App will ask the user if they wish to download and install the update. Default Value: `ON` | `ON` or `OFF` |
| `CLEAR_CACHE_ON_STARTUP` | Frame App will automatically clear local cache on startup when this argument is set to **ON**. Default Value: `ON` | `ON` or `OFF` |
| `ENABLE_CAMERA` | Frame App will launch with camera functionality enabled when this argument is set to **ON**. Default Value: `ON` | `ON` or `OFF` |
| `ENABLE_MICROPHONE` | Frame App will launch with microphone functionality enabled when this argument is set to **ON**. Default Value: `ON` | `ON` or `OFF` |
| `FULL_SCREEN` | Instructs Frame App to launch in full screen when this argument is set to **ON**. Default Value: `OFF` | `ON` or `OFF` |
| `START_SESSION_IN_FULL_SCREEN` | Instructs Frame App to start a session in full screen when this argument is set to **ON**. Default Value: `OFF` | `ON` or `OFF` |
| Key Name | Description | Value(s) |
|---|---|---|
| `STARTUP_URL` | Designates the startup Uniform Resource Location (URL). Default Value: `https://console.nutanix.com/` | URL |
| `CHECK_FOR_UPDATES_ON_STARTUP` | Frame App will check for updates on startup when this argument is set to **ON**. If there is an update available, Frame App will ask the user if they wish to download and install the update. Default Value: `ON` | `ON` or `OFF` |
| `CLEAR_CACHE_ON_STARTUP` | Frame App will automatically clear local cache on startup when this argument is set to **ON**. Default Value: `ON` | `ON` or `OFF` |
| `ENABLE_CAMERA` | Frame App will launch with camera functionality enabled when this argument is set to **ON**. Default Value: `ON` | `ON` or `OFF` |
| `ENABLE_MICROPHONE` | Frame App will launch with microphone functionality enabled when this argument is set to **ON**. Default Value: `ON` | `ON` or `OFF` |
| `FULL_SCREEN` | Instructs Frame App to launch in full screen when this argument is set to **ON**. Default Value: `OFF` | `ON` or `OFF` |
| `START_SESSION_IN_FULL_SCREEN` | Instructs Frame App to start a session in full screen when this argument is set to **ON**. Default Value: `OFF` | `ON` or `OFF` |
| Key Name | Description | Value(s) |
|---|---|---|
| `STARTUP_URL` | Designates the startup Uniform Resource Location (URL). Default Value: `https://console.nutanix.com/` | URL |
| `CHECK_FOR_UPDATES_ON_STARTUP` | Frame App will check for updates on startup when this argument is set to **ON**. If there is an update available, Frame App will ask the user if they wish to download and install the update. Default Value: `ON` | `ON` or `OFF` |
| `CLEAR_CACHE_ON_STARTUP` | Frame App will automatically clear local cache on startup when this argument is set to **ON**. Default Value: `ON` | `ON` or `OFF` |
| `ENABLE_CAMERA` | Frame App will launch with camera functionality enabled when this argument is set to **ON**. Default Value: `ON` | `ON` or `OFF` |
| `ENABLE_MICROPHONE` | Frame App will launch with microphone functionality enabled when this argument is set to **ON**. Default Value: `ON` | `ON` or `OFF` |
| `FULL_SCREEN` | Instructs Frame App to launch in full screen when this argument is set to **ON**. Default Value: `OFF` | `ON` or `OFF` |
| `START_SESSION_IN_FULL_SCREEN` | Instructs Frame App to start a session in full screen when this argument is set to **ON**. Default Value: `OFF` | `ON` or `OFF` |
The removal of the local cache will not remove the Startup URL value as this is stored either in the Preferences database or in the registry (for Windows).
## Log Location Frame App writes its logs to the following locations. Replace `username` with the name of your user. #### Frame App 7.X Linux ```bash /home/$USER/.config/Frame/Logs ``` #### Frame App 7.X MacOS ```bash /Users/$USER/Library/Application Support/Frame/Logs ``` #### Frame App 7.X Windows ```bash C:\Users\$USER\AppData\Roaming\Frame\Logs ``` # IGEL Frame provides a convenient Custom Partition for IGEL OS bundled with UMS Profiles for easy and secure integration with IGEL OS and management with IGEL's UMS. The included UMS Profiles allow admins to quickly and easily deploy Frame App tailored for your users and use-case(s). ## Version Requirements - Frame App 7.4.x+ is compatible with IGEL OS 12 - IGEL UMS 11 or higher ## Frame App Custom Partition You can bundle Frame App into an IGEL Custom Partition for use with IGEL OS 12 following the instructions below. *Building the custom partition bundle currently requires Ubuntu 18.04 with IGEL OS 11*. ### Frame App IGEL Bundling instructions For Ubuntu 18.04 1. Download the latest [Frame App for Linux (Debian)](https://files.difr.com/) to your `~/Downloads` directory. 2. Download and unzip `Frame.zip` from [https://github.com/IGEL-Community/IGEL-Custom-Partitions/raw/master/CP\_Packages/Apps/Frame.zip](https://github.com/IGEL-Community/IGEL-Custom-Partitions/blob/master/CP_Packages/Apps/Frame.zip). 3. Using a terminal, navigate to the unzipped directory to `/target/build/` and execute `build-frame-cp.sh` 4. Copy `frame.ini` and `frame.tar.bz2` from `/target/` to a new Frame folder in the UMS "ums\_filetransfer" path depending on your OS: - UMS upload path on Linux: `/opt/IGEL/RemoteManager/rmguiserver/webapps/ums_filetransfer/Frame/` - UMS upload path on Windows: `C:/Program Files/IGEL/RemoteManager/rmguiserver/webapps/ums_filetransfer/Frame/` 5. Import Frame's Custom Profile(s) from `/igel/*` 6. Edit the profile and set up *Firmware Customization -> Custom Partition -> Download* with your UMS server info and credentials. 7. Setup env variables as instructed in the guides below. Building the bundle will provide you with a zip file relative to the version of Frame App that was bundled. This bundle also includes Frame-provided UMS Profiles that you can quickly import and begin using with your Frame Custom Partition.The UMS Profiles provided by Frame serve as starting points for your implementation. However, they don't limit your options for customization. Frame is highly extensible, allowing for extensive customization of various aspects including authentication, Role-Based Access Control (RBAC), and user interface (UI). Advanced customizations can be achieved through: - Orchestrating Secure Anonymous Tokens for fine-grained control over authentication flows and RBAC - Leveraging the Session API to manage how, when, and where customers interact with your Frame resources
These tools enable you to tailor the Frame experience to your specific needs, going beyond the default configurations provided in the UMS Profiles. ## Frame-Provided Profiles Frame-provided UMS Profiles offer various configuration options to customize and optimize your IGEL environment. These profiles range from basic Frame App desktop integration to specialized kiosk modes supporting SAML2 and Secure Anonymous Tokens (SAT) authentication. ## Testing New Versions of Frame App When a new version of Frame App comes out, admins should test the new version of Frame App on a small subset of devices before rolling it out to the rest of their users. In order to configure multiple versions of Frame App in your UMS, you need to follow a few steps below to add a custom installation path of a test Frame App Custom Partition.When building the custom partition for Frame App 7.x+, make sure to use the `build-frame-cp.sh` script.
1. Create a new folder in your UMS file transfer server, something like `Frame-Test`. This would result in a folder at the following path: `/IGEL/RemoteManager/rmguiserver/webapps/ums_filetransfer/Frame-Test/` 2. Once that's complete, import or create a copy of an existing profile and edit it. Navigate to **Firmware Customization > Custom Partition > Download** and edit the download URL to reference the same path. For our example: `https://[YOUR_UMS_SERVER]:8443/ums_filetransfer/Frame-Test/frame.inf` 3. That's it! Assign the profile to your devices and they should download the new partition accordingly.Multiple versions of Frame App are not currently available on the same IGEL device. Admins must assign only one Frame App Custom Partition to a device at a time.
## Troubleshooting As of now, there are no specific common issues reported for Frame App 7 on IGEL OS. However, we are continuously monitoring user feedback and will update this section with any relevant troubleshooting information as it becomes available. If you encounter any issues, please [contact our support team](https://docs.difr.com/books/dizzion-support/page/contact-support) for assistance. # Frame-Provided IGEL Profiles ## Profile Options Frame-provided UMS Profiles offer various configuration options to customize and optimize your IGEL environment. These profiles range from basic Frame App desktop integration to specialized kiosk modes supporting SAML2 and Secure Anonymous Tokens (SAT) authentication. [Click here](https://docs.difr.com/books/platform-administrators-guide/page/frame-provided-igel-profiles#bkmrk-import-a-frame-app-p) to skip ahead to instructions on how to import Frame App into UMS 12. ### Basic Frame App Profile Bundle location: `igel/frame-app-basic-profile.xml` 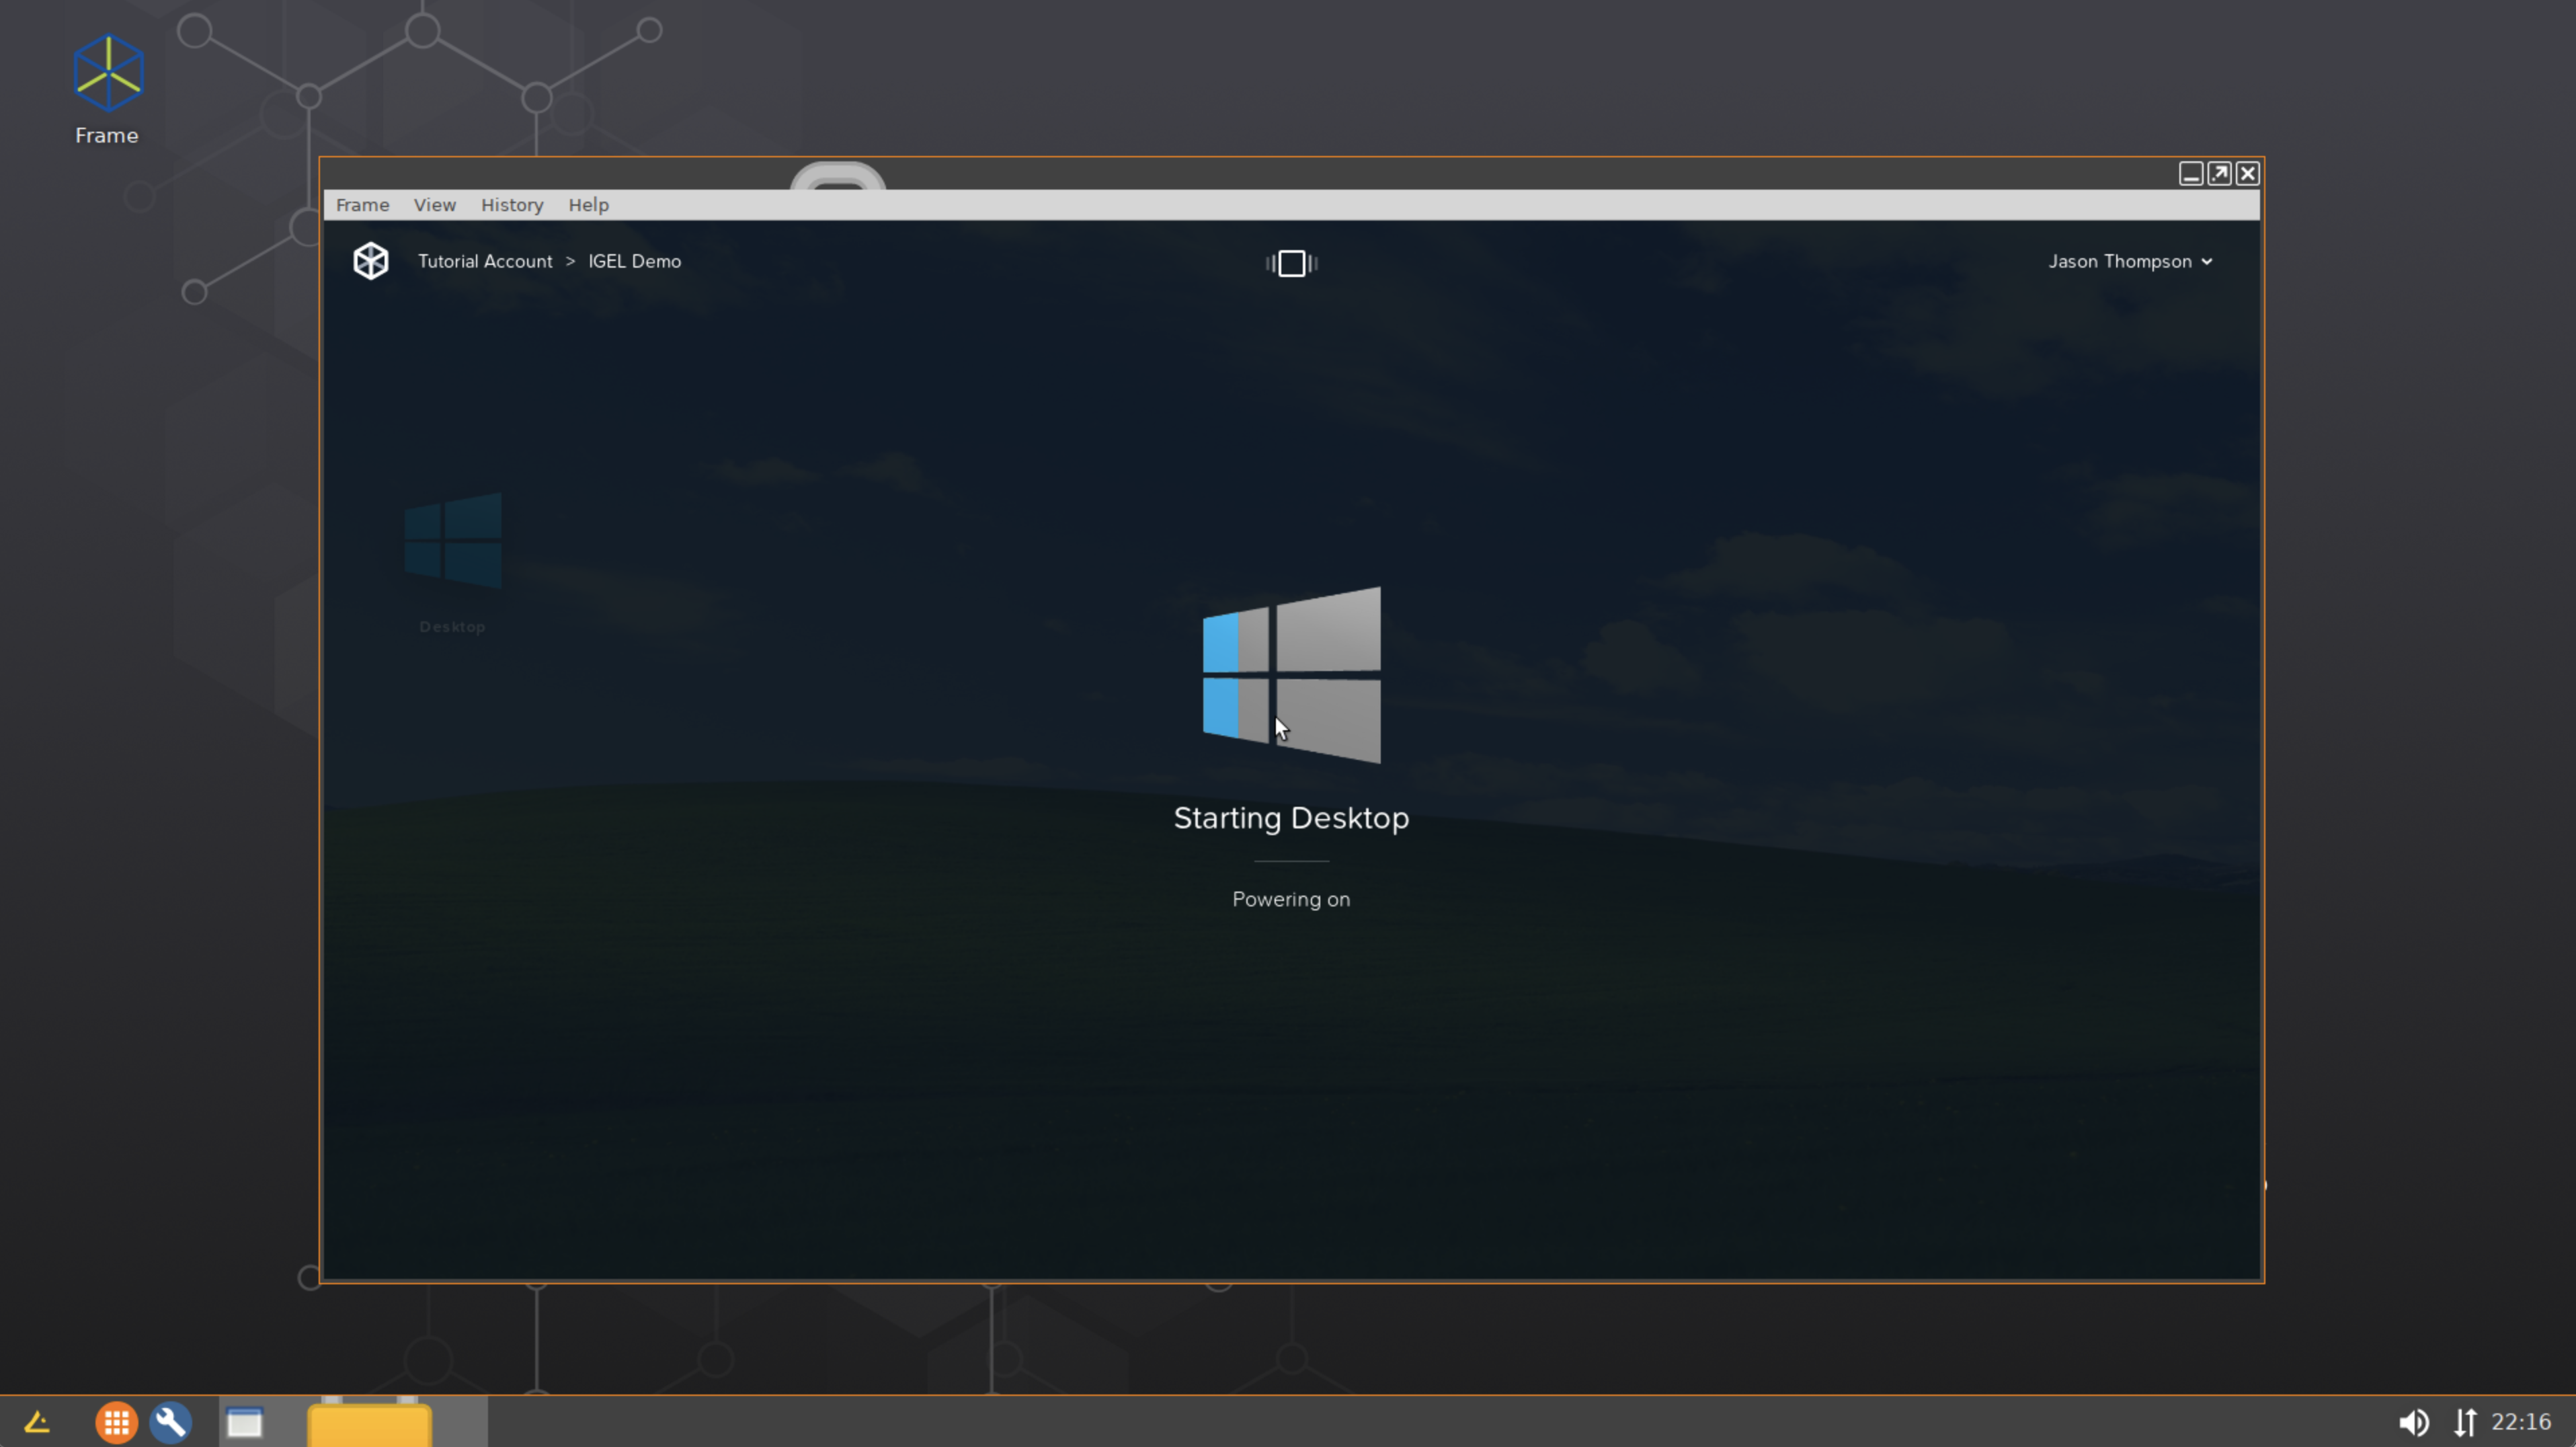 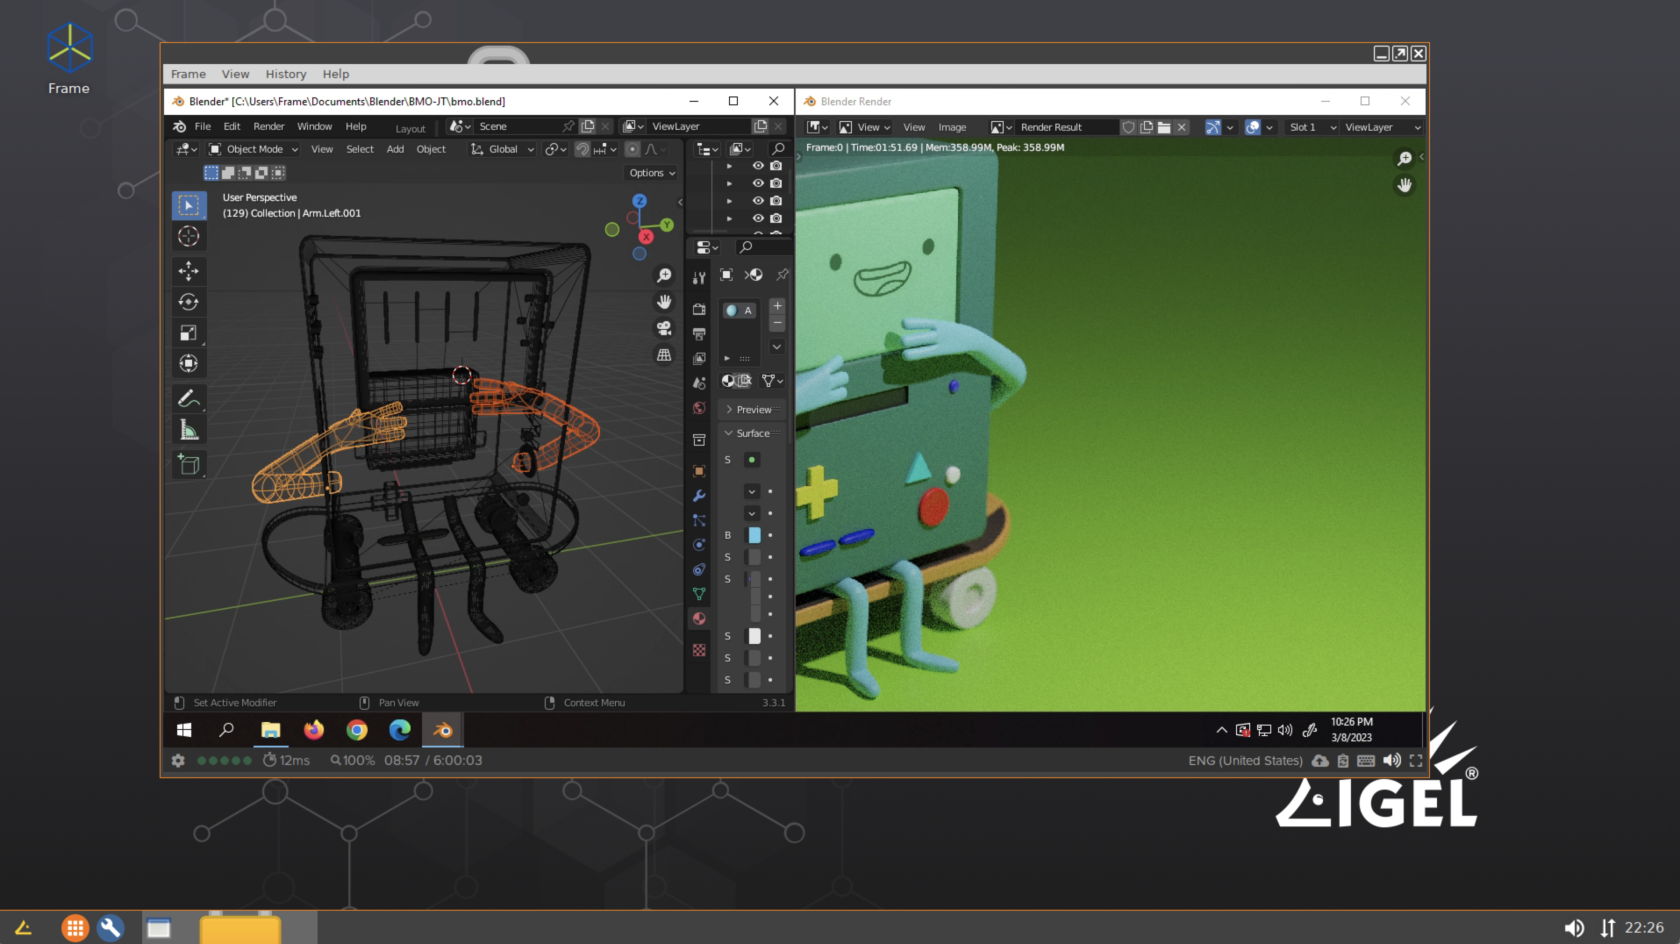 This "basic" UMS Profile simply enables a Frame App icon on the IGEL Desktop. Admins can customize the default settings and launch parameters by adding command line arguments in your UMS by editing the Frame App Basic Profile Settings: **Firmware Customization > Custom Application > Frame > Settings**.When configuring the profile, you need to specify the Frame App version in the command field, use `/custom/frame/frame- sat-kiosk-launcher.sh v7`
Please refer to our [Linux command-line arguments for Frame App](https://docs.difr.com/link/161#bkmrk-frame-app-7) for more information. ### Frame SAML2 Kiosk Mode Profile Bundle location: `igel/frame-saml2-kiosk-profile.xml` This profile is designed to support a specific end user workflow and assumes a particular Frame configuration. 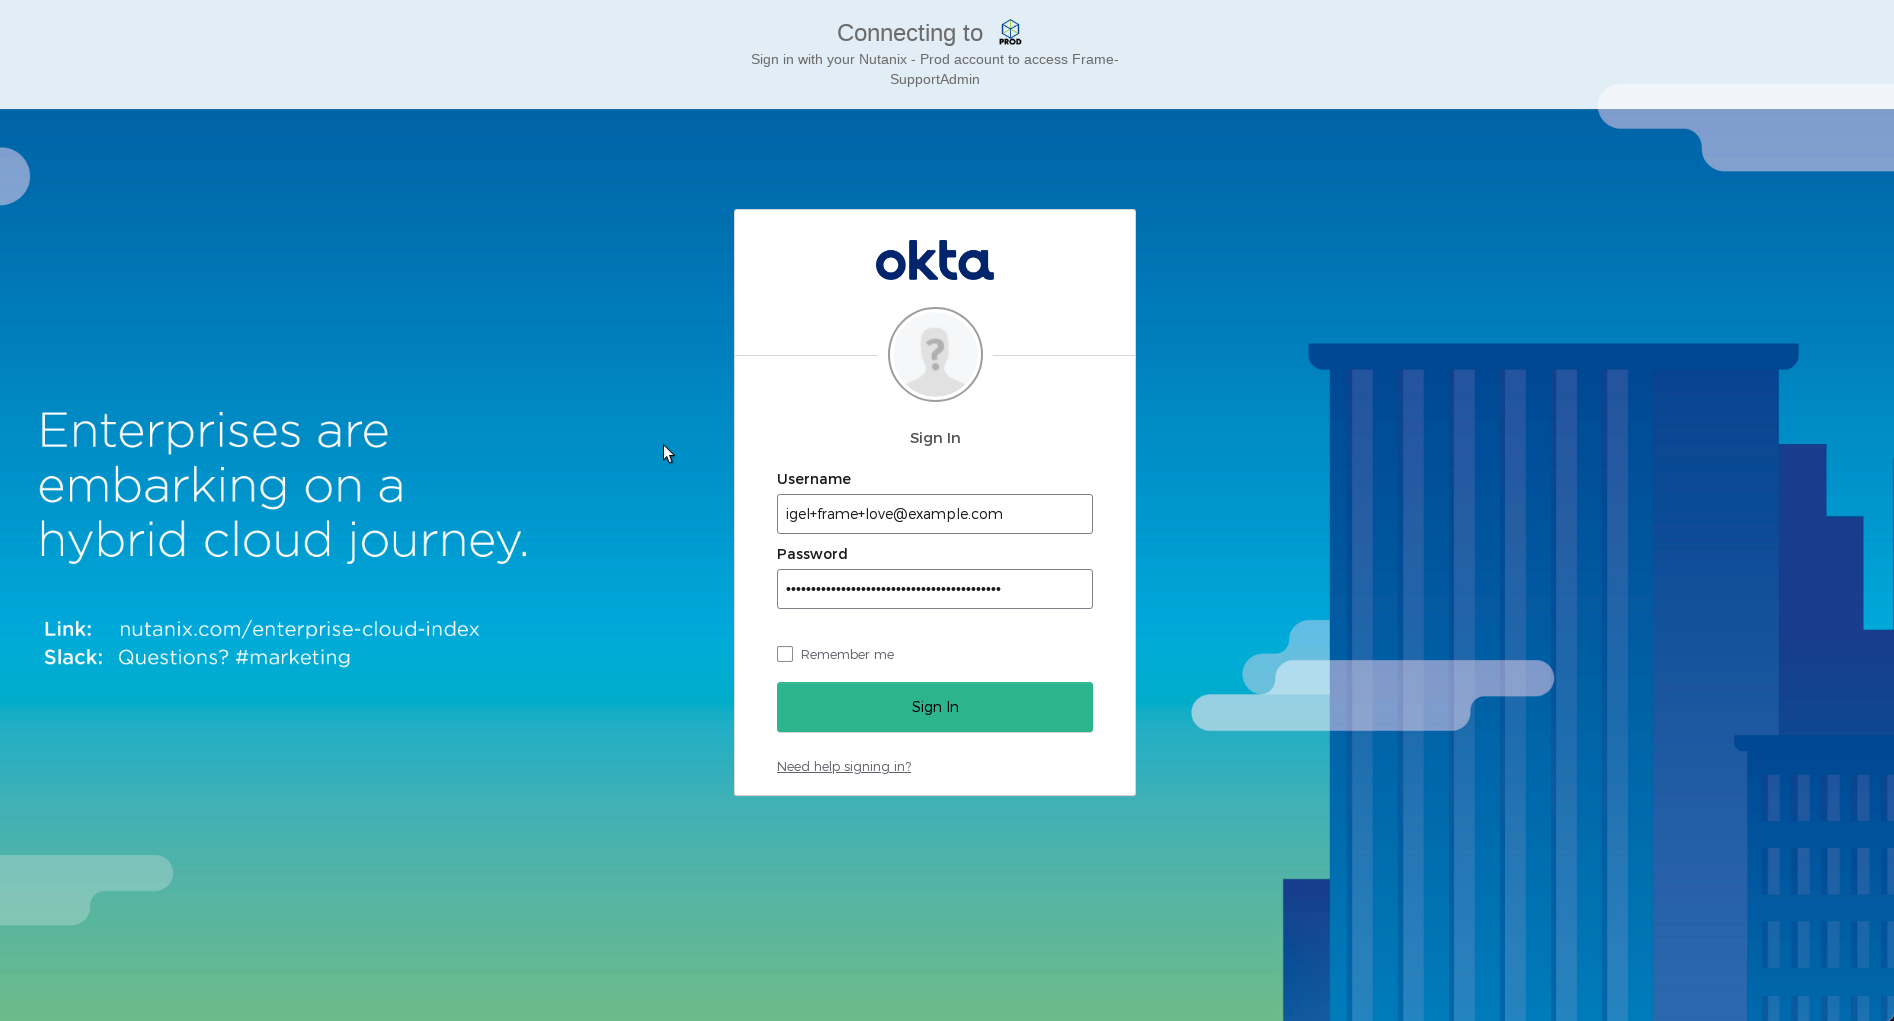 #### SAML2 Kiosk Mode User Experience The SAML2 Kiosk Mode provides a seamless and secure user experience, integrating Frame App with third-party identity providers. Here's what users can expect: ```mermaid graph TD Start([Start]) --> A[Frame App Launch] A -->|Clear cache| B[Present Kiosk Mode Interface] B --> C[Show Identity Provider Login] C --> D{Authentication Successful?} D -->|Yes| E{Launch Link Configuration} E -->|Desktop| F[Full-screen Desktop Session] E -->|Application| G[Full-screen Application Session] F --> H{User Action} G --> H H -->|Disconnect or Inactivity timeout| I[Show Resume Option] I -->|Within timeout| F I -->|Timeout expires| C H -->|End Session| J[Close Session] J -->|Configure Frame to redirect to IdP| C C -->|New user| C classDef default fill:#f9f,stroke:#333,stroke-width:2px; classDef decision fill:#ccf,stroke:#333,stroke-width:2px; class D,E,H decision; ``` 1. Upon launch, Frame App clears its cache to ensure a fresh session and secure authentication. 2. Users are presented with a full-screen Kiosk Mode interface, supporting multiple monitors. The login screen of the configured third-party identity provider appears, prompting for credentials. 3. After successful authentication, Frame App directs users to either a desktop or specific application, based on the Launch Link configuration. 4. The Frame session begins in full-screen mode, providing an immersive remote desktop experience. 5. If users disconnect, either manually or due to inactivity, they have the option to resume their session within the account's or Launchpad's [configured idle timeout](https://docs.difr.com/books/platform-administrators-guide/page/session-settings#bkmrk-idle-timeout). 6. When users end their session (by quitting or shutting down the Windows instance), they are logged out and returned to the identity provider's login screen, ready for the next user. This workflow ensures a secure, stateless experience for shared devices while maintaining ease of use for end-users. #### SAML2 + Kiosk Mode Requirements To set up the SAML2 Kiosk Mode, ensure you have the following: - A *Published* Launchpad - A configured identity provider with associated roles/permissions allowing access to the desired Frame Account - A Frame Launch Link with the additional ["Quit and log out"](https://docs.difr.com/books/platform-administrators-guide/page/advanced-integrations) URL parameter: `&qlo=1` - (Optional) Frame account production workload VMs joined to a Windows domain, if desired Additionally, you need to configure the IGEL UMS Custom Profile: 1. Navigate to: > System > Firmware Customization > Environment Variables > Predefined 2. Add the following environment variable: - `FRAME_LAUNCH_URL`: This is your Launch Link, obtained from the Account's *Dashboard > Launchpad > Advanced Integrations*. You'll find a configurable dialog with Launch Links there.While we recommend using Launch Links for Kiosk scenarios, you can also use a standard Launchpad URL for the FRAME\_LAUNCH\_URL value if needed.
This configuration ensures that your SAML2 Kiosk Mode is properly set up and integrated with your Frame Account and IGEL environment. #### SAML2 + Kiosk Mode Configuration 1. Import the SAML2 kiosk launcher profile template (with .ipm extension) into your UMS12. 2. After importing, update the template values with your specific configuration. 3. Follow the existing steps for setting up the environment variables. ### Frame SAT Kiosk Mode Profile Bundle location: `igel/frame-sat-kiosk-profile.xml` The Frame SAT Kiosk Custom Profile is designed to support a specific end user workflow relying on Frame's [Secure Anonymous Tokens (SAT)](https://docs.difr.com/books/platform-administrators-guide/page/secure-anonymous-tokens) for authentication. This flow also assumes a particular Frame configuration to support the kiosk experience as defined below. 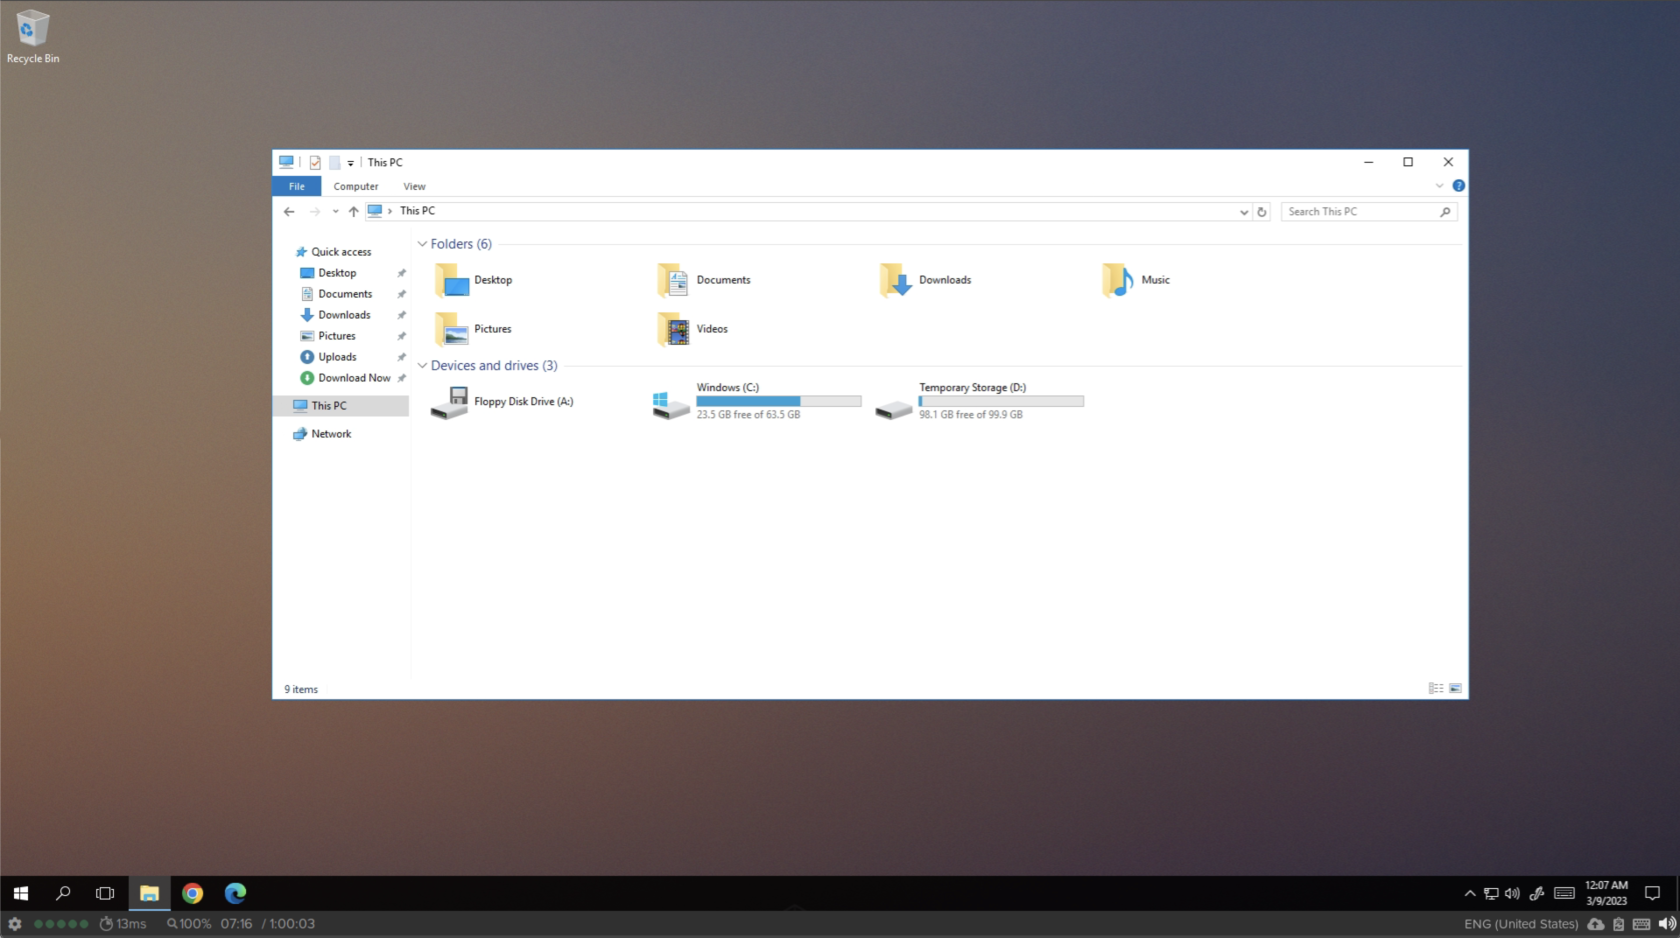 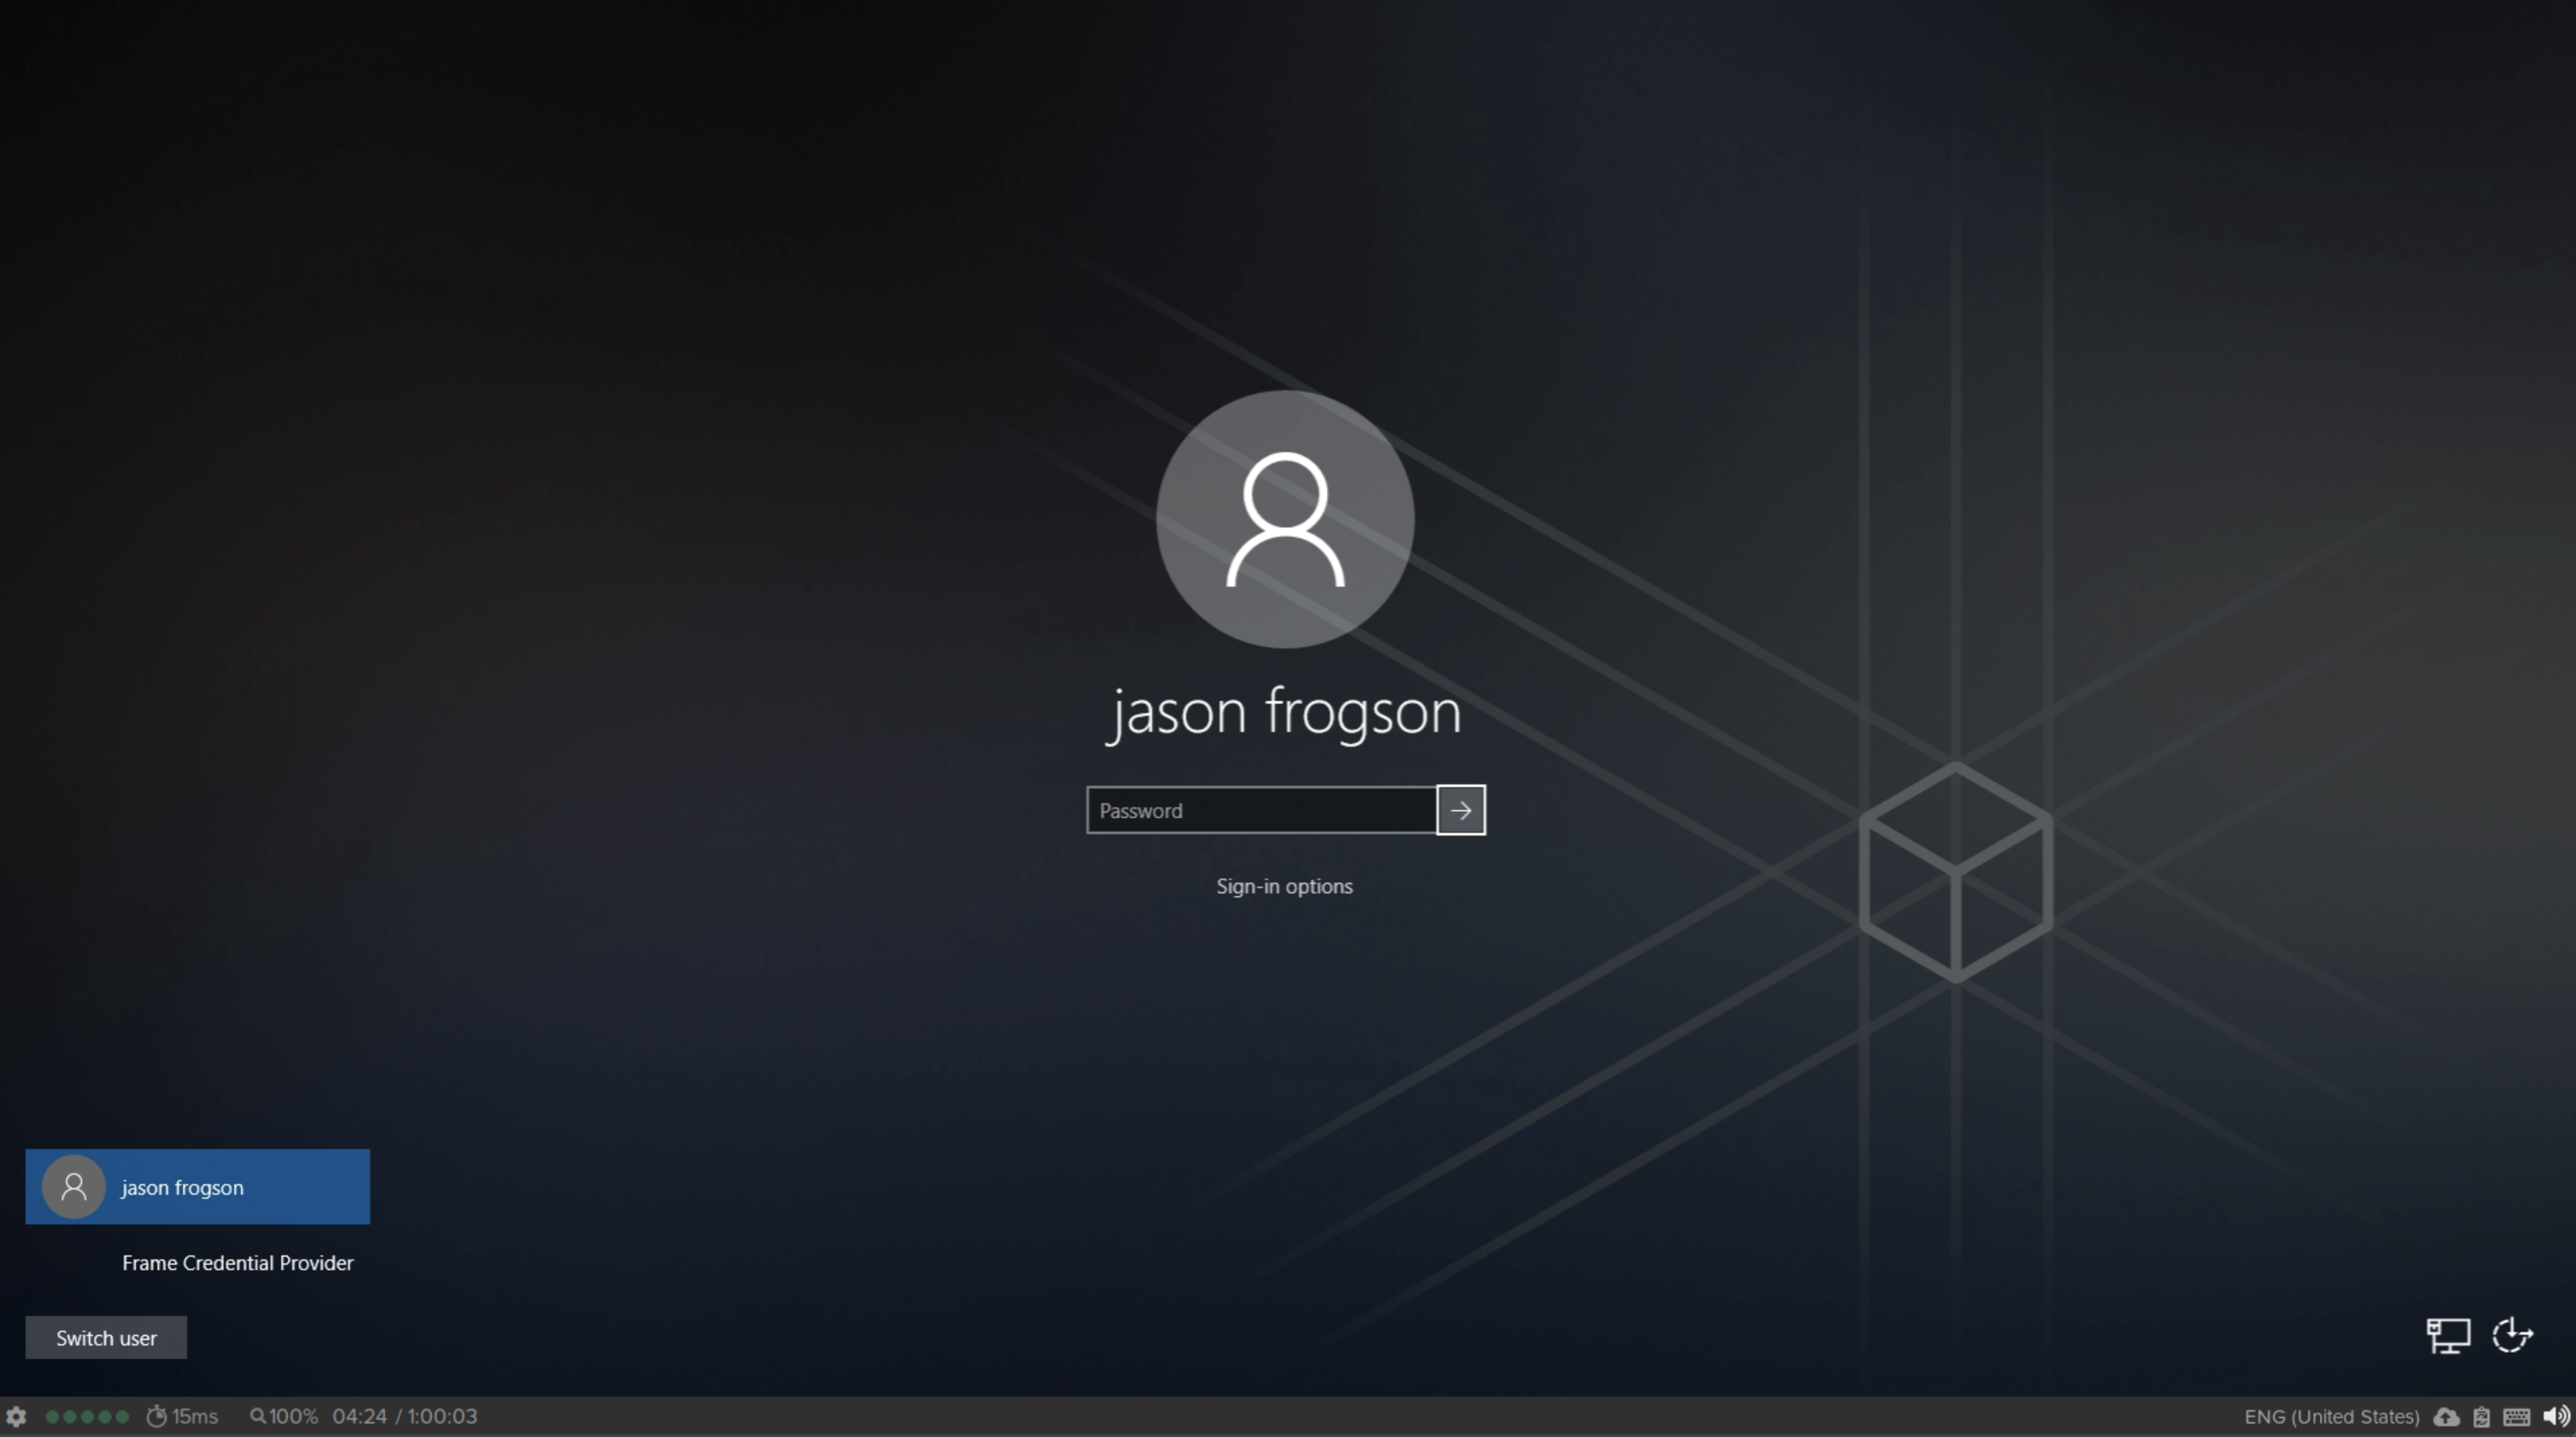 #### SAT Kiosk Mode User Experience With the SAT Kiosk Mode user experience, end users will not authenticate to a SAML2-based identity provider (this script uses the Frame Secure Anonymous Token (SAT) functionality for session authentication). ```mermaid graph TD 1[1. Launch Frame App in kiosk mode] 2[2. Clear user cache] 3[3. Authenticate using SAT] 4[4. Direct to desktop or application] 5[5. Start remote desktop in full-screen] 6[6. Session ends] 7[7. Restart Frame App with new SAT token] 1 --> 2 2 --> 3 3 --> 4 4 --> 5 5 --> 6 6 --> 7 7 -.-> 1 ``` 1. Frame App will launch in "kiosk mode" (full screen). 2. User cache is cleared prior to start and exit of Frame App to ensure no user preference settings have persisted since the prior use of Frame App. 3. End users are authenticated using Frame Secure Anonymous Token (SAT) functionality. 4. Frame App directs the end user directly to the desktop or application (depending on the [Launch Link](https://docs.difr.com/books/platform-administrators-guide/page/advanced-integrations#bkmrk-what-are-launch-link) configuration). 5. When a Frame session starts, the remote desktop will be in full-screen mode. 6. Upon session disconnect or closure, Frame App will restarts with a new SAT token.**NOTE:** Disconnect behavior is configurable from [Session Settings](https://docs.difr.com/books/platform-administrators-guide/page/session-settings).
#### SAT + Kiosk Configuration Requirements - A *Published* Launchpad. - API Provider configured at the Organization entity. - Secure Anonymous Token Provider at the Account entity level granting a role of Launchpad User for a specific Launchpad in a Frame account (under the Organization entity). - Frame [Launch Link](https://docs.difr.com/books/platform-administrators-guide/page/advanced-integrations#bkmrk-what-are-launch-link) is used, rather than a Launchpad URL to support automatic start of the user's session and to simplify the UX. - *Optional:* The Frame account production workload VMs can be joined to a Windows domain, if desired. - The Environment Variables listed below: #### Environment Variables The following environment variables must be configured in the IGEL Custom Profile for this profile to work. 1. **Edit your IGEL UMS Custom Profile and go to**: > System > Firmware Customization > Environment Variables > Predefined 2. **Set the following environment variables:**| Environment Variable | Description |
|---|---|
| `FRAME_CLIENT_ID` | Obtained from the API provider when a set of API credentials are created. |
| `FRAME_CLIENT_SECRET` | Obtained from the API provider when a set of API credentials are created. |
| `FRAME_SAT_URL` | URL obtainable from the Playground. For example: https://api.console.nutanix.com/v1/accounts/XXXXXXXX-XXXX-XXXX-XXXX-31d09e2881cd/secure-anonymous/secure-anon-XXXXXXXX-XXXX-XXXX-XXXX-c5e2dc93df1e/tokens. |
| `FRAME_ACCOUNT_ID` | Sign in to [Frane Console](https://console.nutanix.com) as an Admin. Locate your account, click the three-dot menu, and select "update" to view the Account's entity settings. Next, copy the Account UUID from the browser's URL bar. For example: `https://console.nutanix.com/frame/account/YOUR-FRAME-ACCOUNT-UUID-HERE/basic-info` or use the [Admin API to List Accounts](https://docs.difr.com/dev-hub/admin-api/account). |
| `FRAME_EMAIL_DOMAIN` | Email domain name used to create the anonymous user email addresses that will be visible in the Session Trail. Example: frame.igel.mycompany.com |
| `FRAME_LAUNCH_URL` | Obtained from an Account's Dashboard > Launchpad > Advanced Integrations to get a configurable dialog with Launch Links. While we recommend Launch Links for Kiosk scenarios, the value of FRAME\_LAUNCH\_URL could instead be a standard Launchpad URL. |
| `FRAME_TERMINAL_CONFIG_ID` | Obtainable from the Launch Link URL. |
| `FRAME_LOGOUT_URL` | Optional. Allows configuration of the "logout" behavior by specifying a URL. Useful when using a Frame Launch Link with additional "Quit and log out" url parameter: &qlo=1. |